

This is one Maple Helicopter that you won’t have to clean out of the gutter… unless your kid throws it on the roof like I did  . This 7.5″ long functional replica of a Maple Helicopter seed makes learning S.T.E.A.M. fun! This Maple Helicopter is great for teaching kids about science, 3D printing, design and engineering and aeronautics.
After receiving the 3D printed Maple Helicopter, simply follow the instructions below for finishing the wing and it is ready for fun and flight!
This post is dedicated to my wife Christie. She is my best friend and my inspiration!
Amazon Associates Affiliate Disclosure: Inventor Boy is a participant in the Amazon Services LLC Associates Program, an affiliate advertising program designed to provide a means for sites to earn advertising fees by advertising and linking to amazon.com.
Fun Facts!
Scientists have found that the spinning leading edge of the Maple Helicopter creates a low-pressure vortex that creates lift and extends the flight of the seed. This allows the seeds to travel great distances.
Instructions:
Safety first! Some of the steps involved in the finishing of the Maple Helicopter wing will create dust and fumes. For these reasons, I recommend that they are performed by adults and the you use the proper protective equipment such as a respirator mask, safety glasses and gloves.
Materials required:
- Maple Helicopter
- Tissue Paper
- Crazy Glue
- Isopropyl Alcohol
- Wax Paper
Step 1
1. Order your Maple Helicopter from Shapeways. You have the option of purchasing several colors including the green shown below for $14.50. Another option is to purchase a white color for $11 and have the kids color it.
Step 2
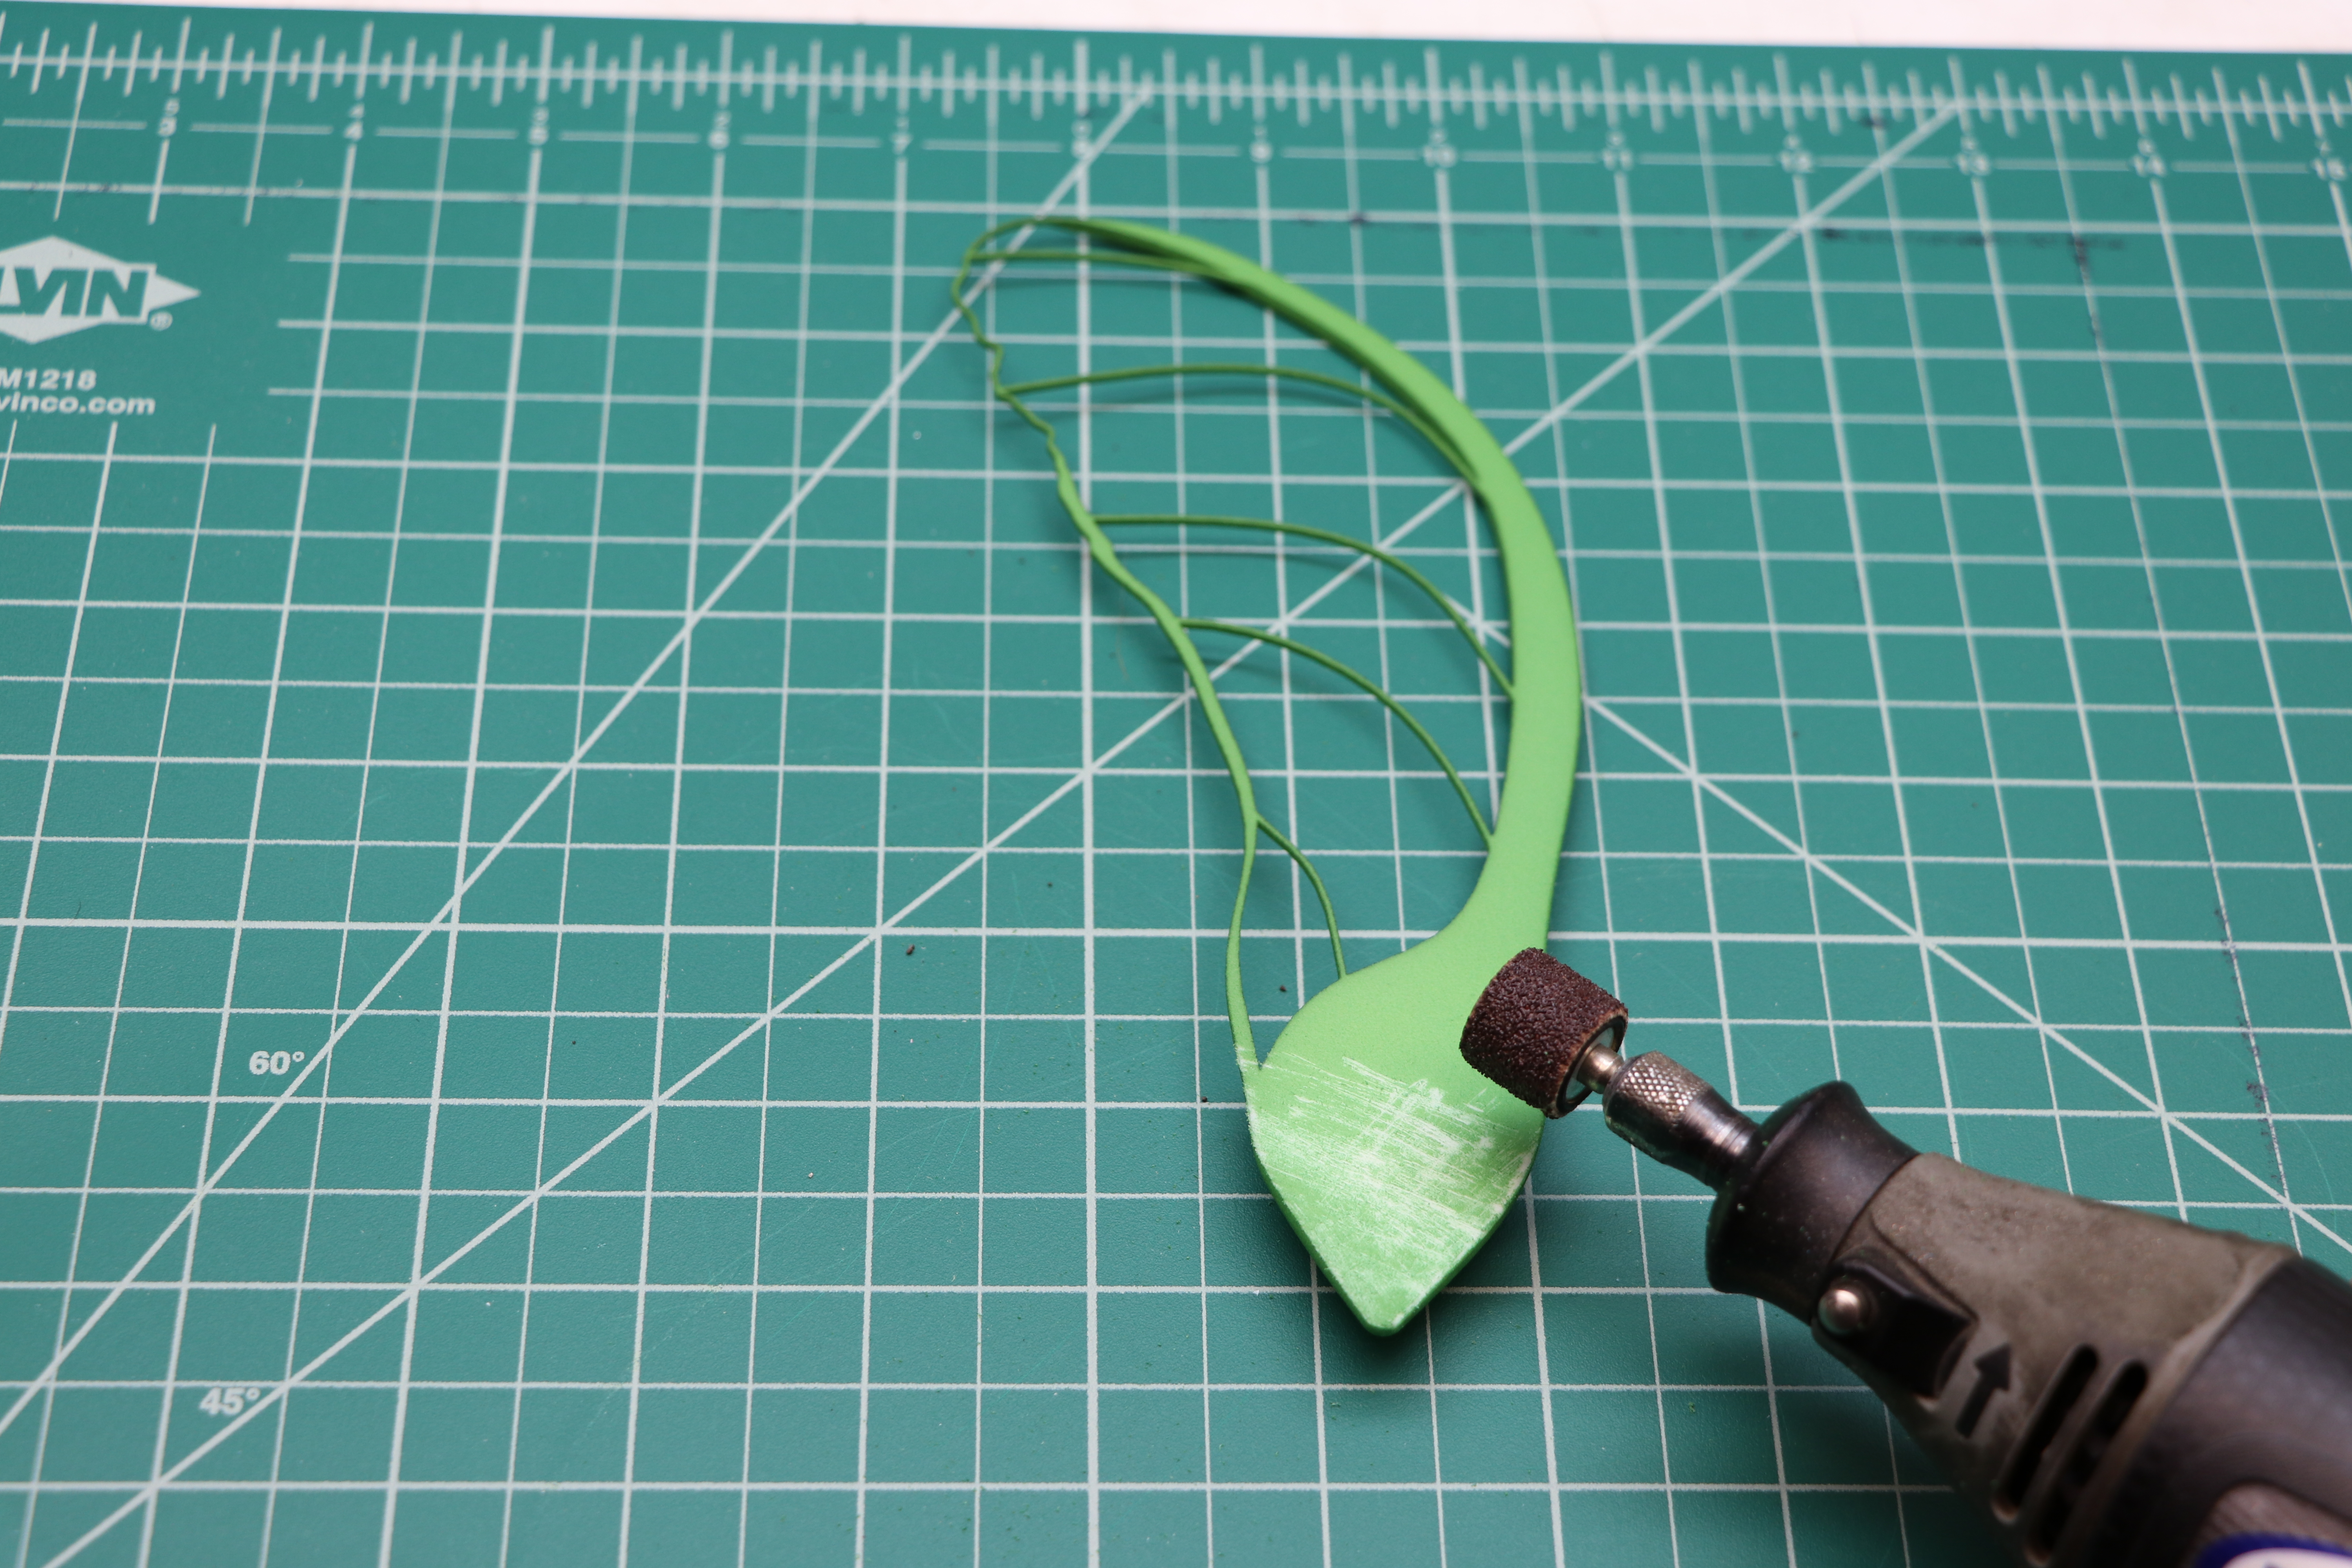
2. The Shapeways 3D printed Maple Helicopter is composed of a nylon material. It helps adhesives to stick to nylon if you rough up the material first. After putting on your safety glasses and respirator mask, use the Dremel tool with a course drum sander to rough up the flat back side of the Maple Helicopter. You should rough up all surfaces on the back including the wing spars. Take your time and be careful, the wing spars are thin and could break easily.
Step 3
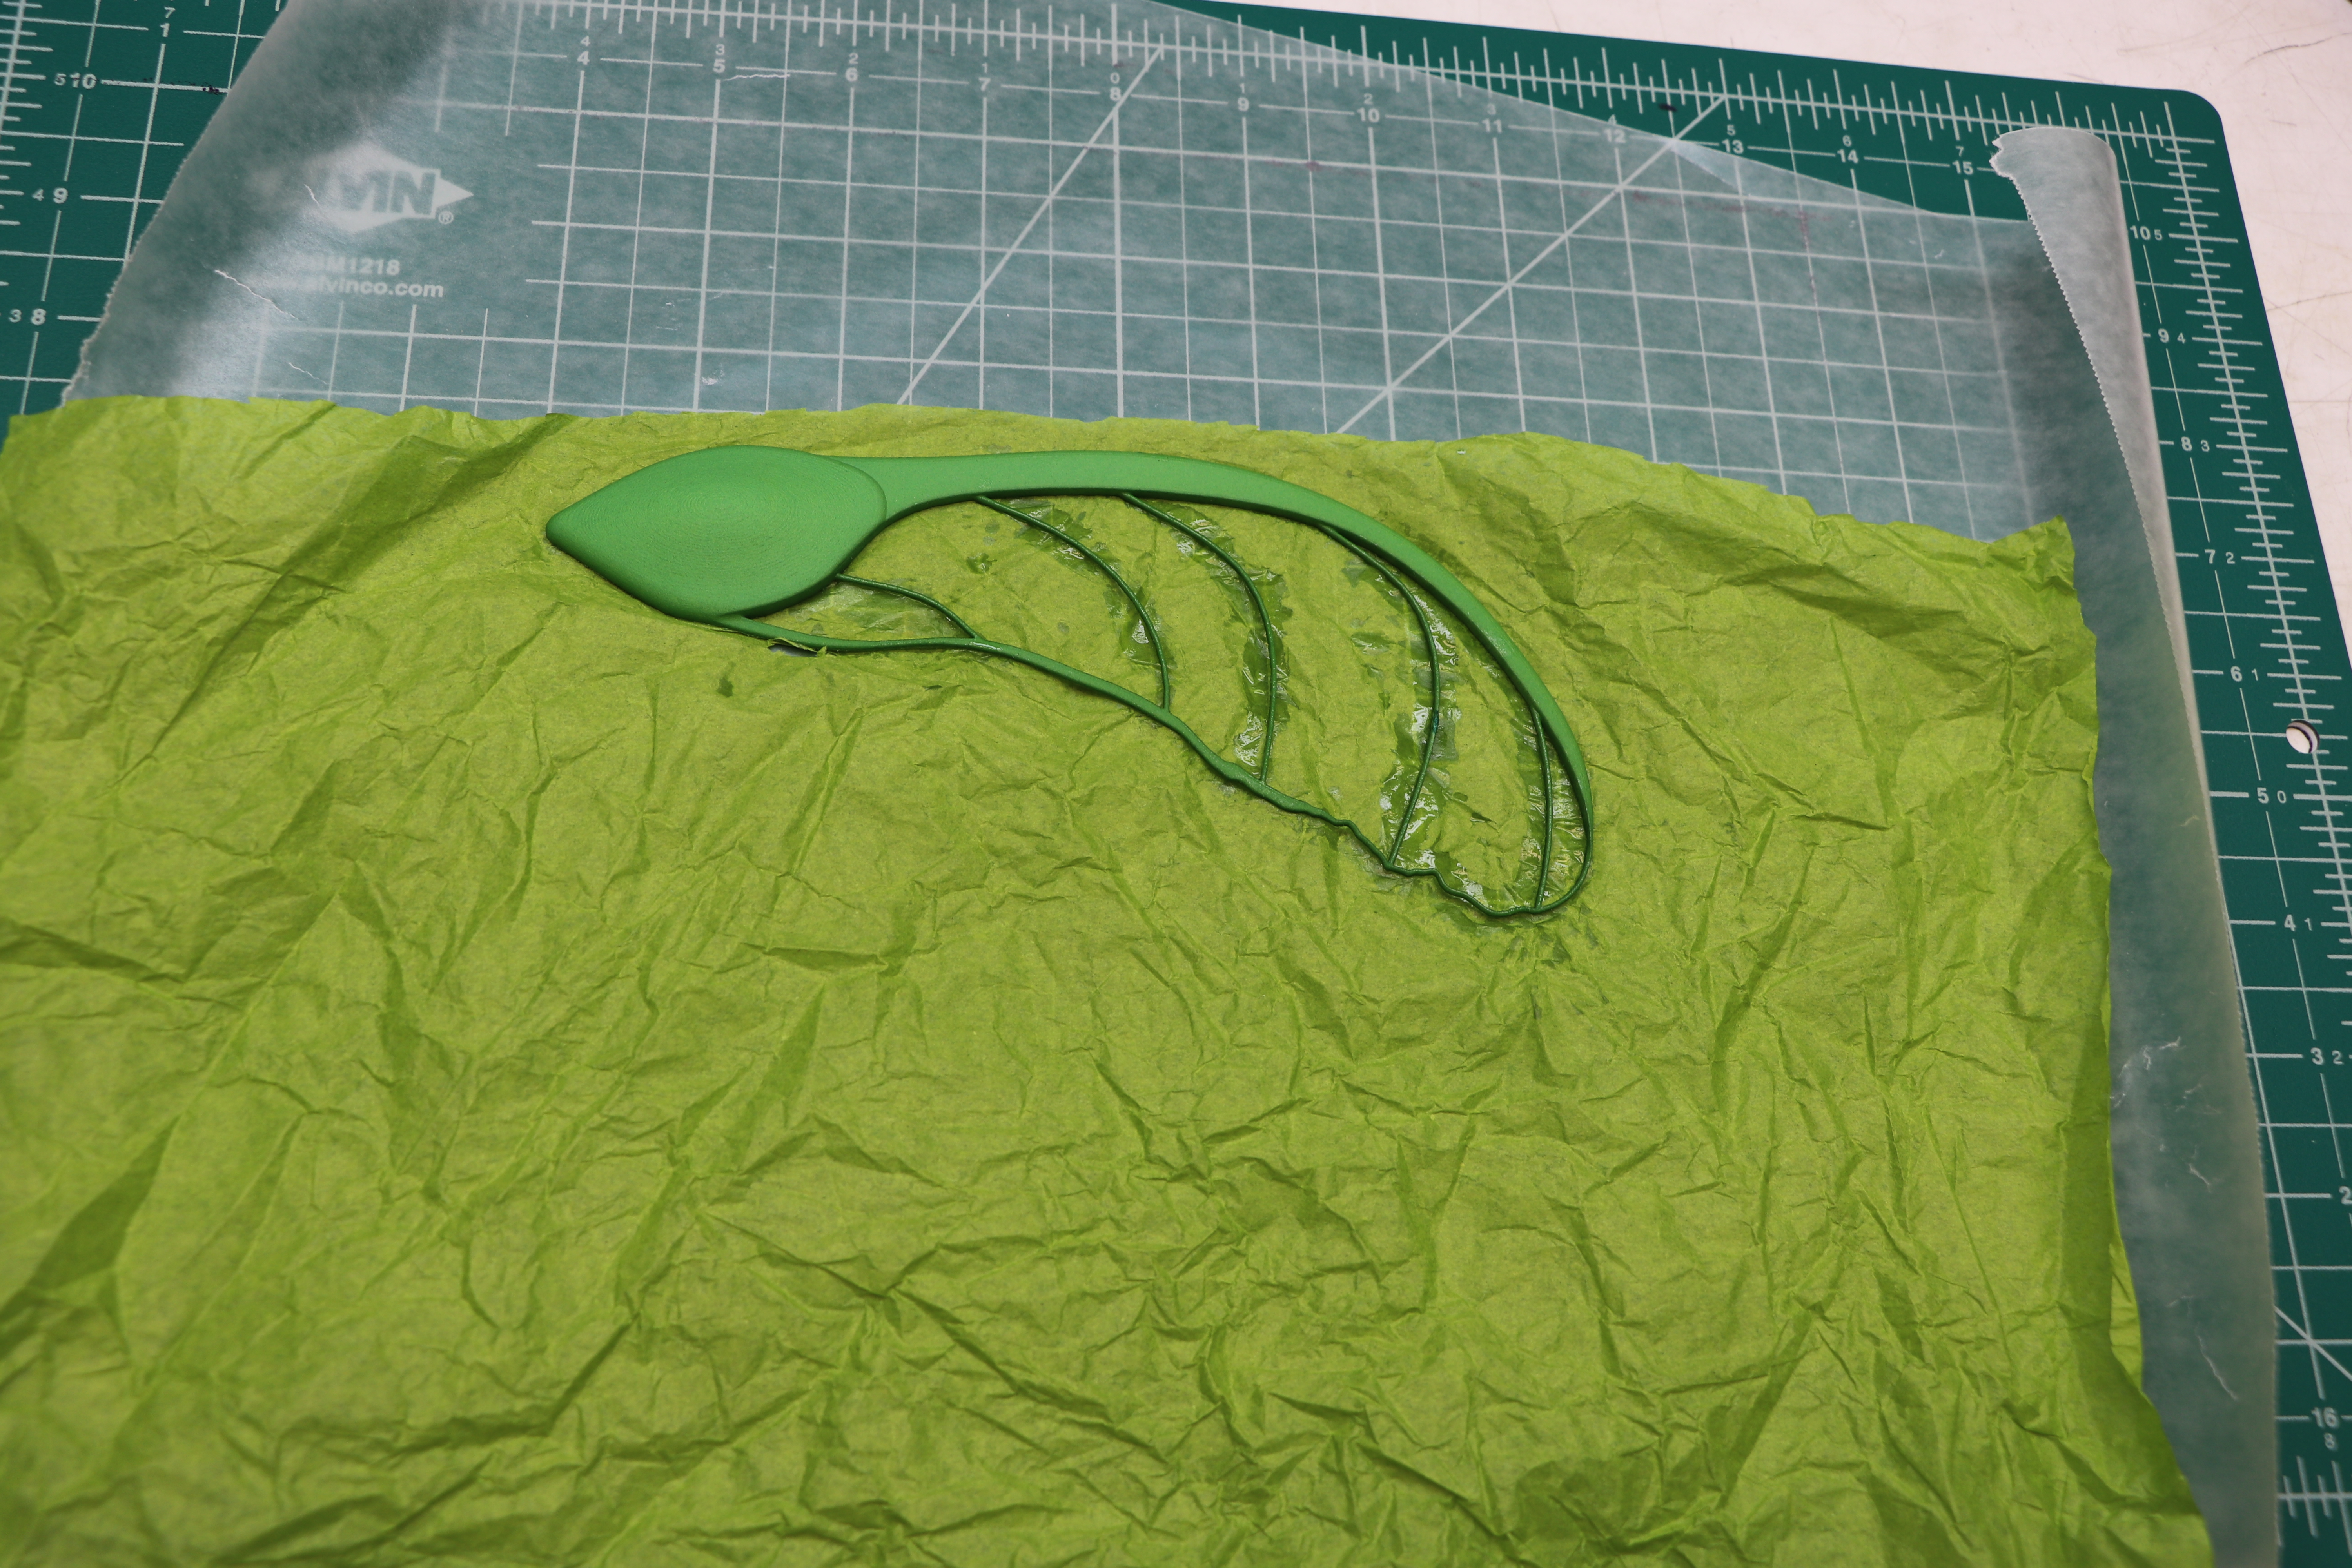
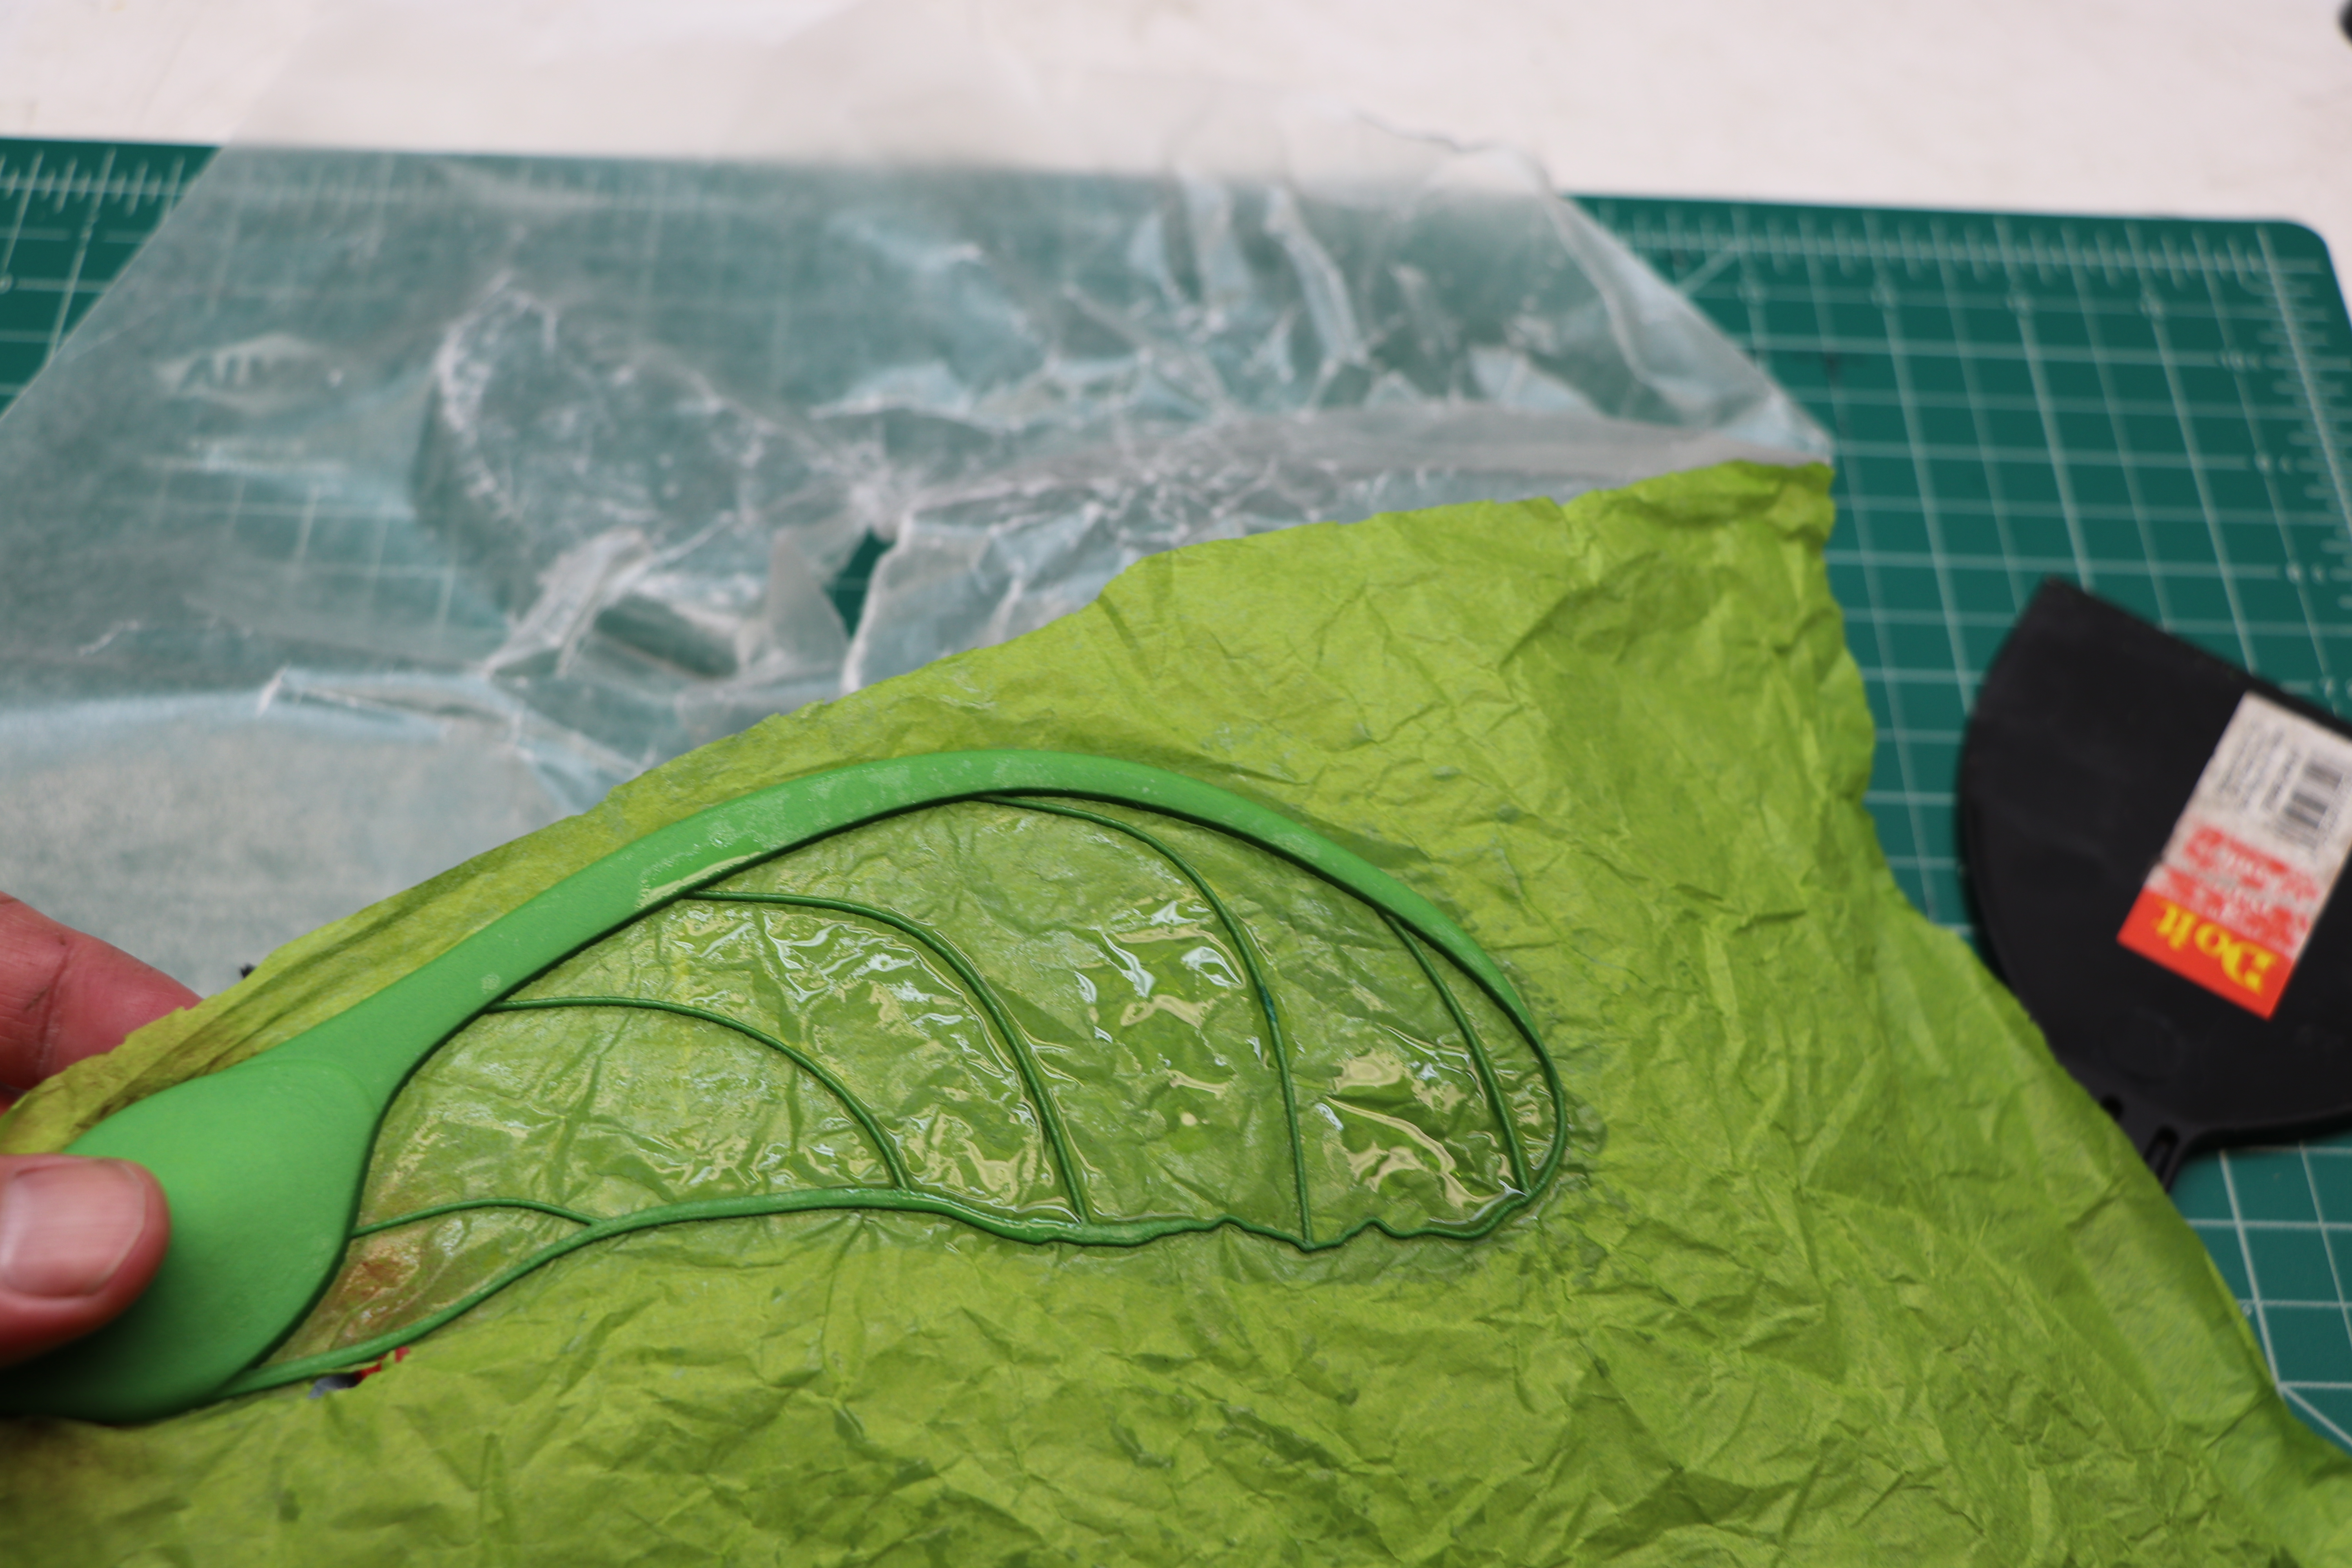
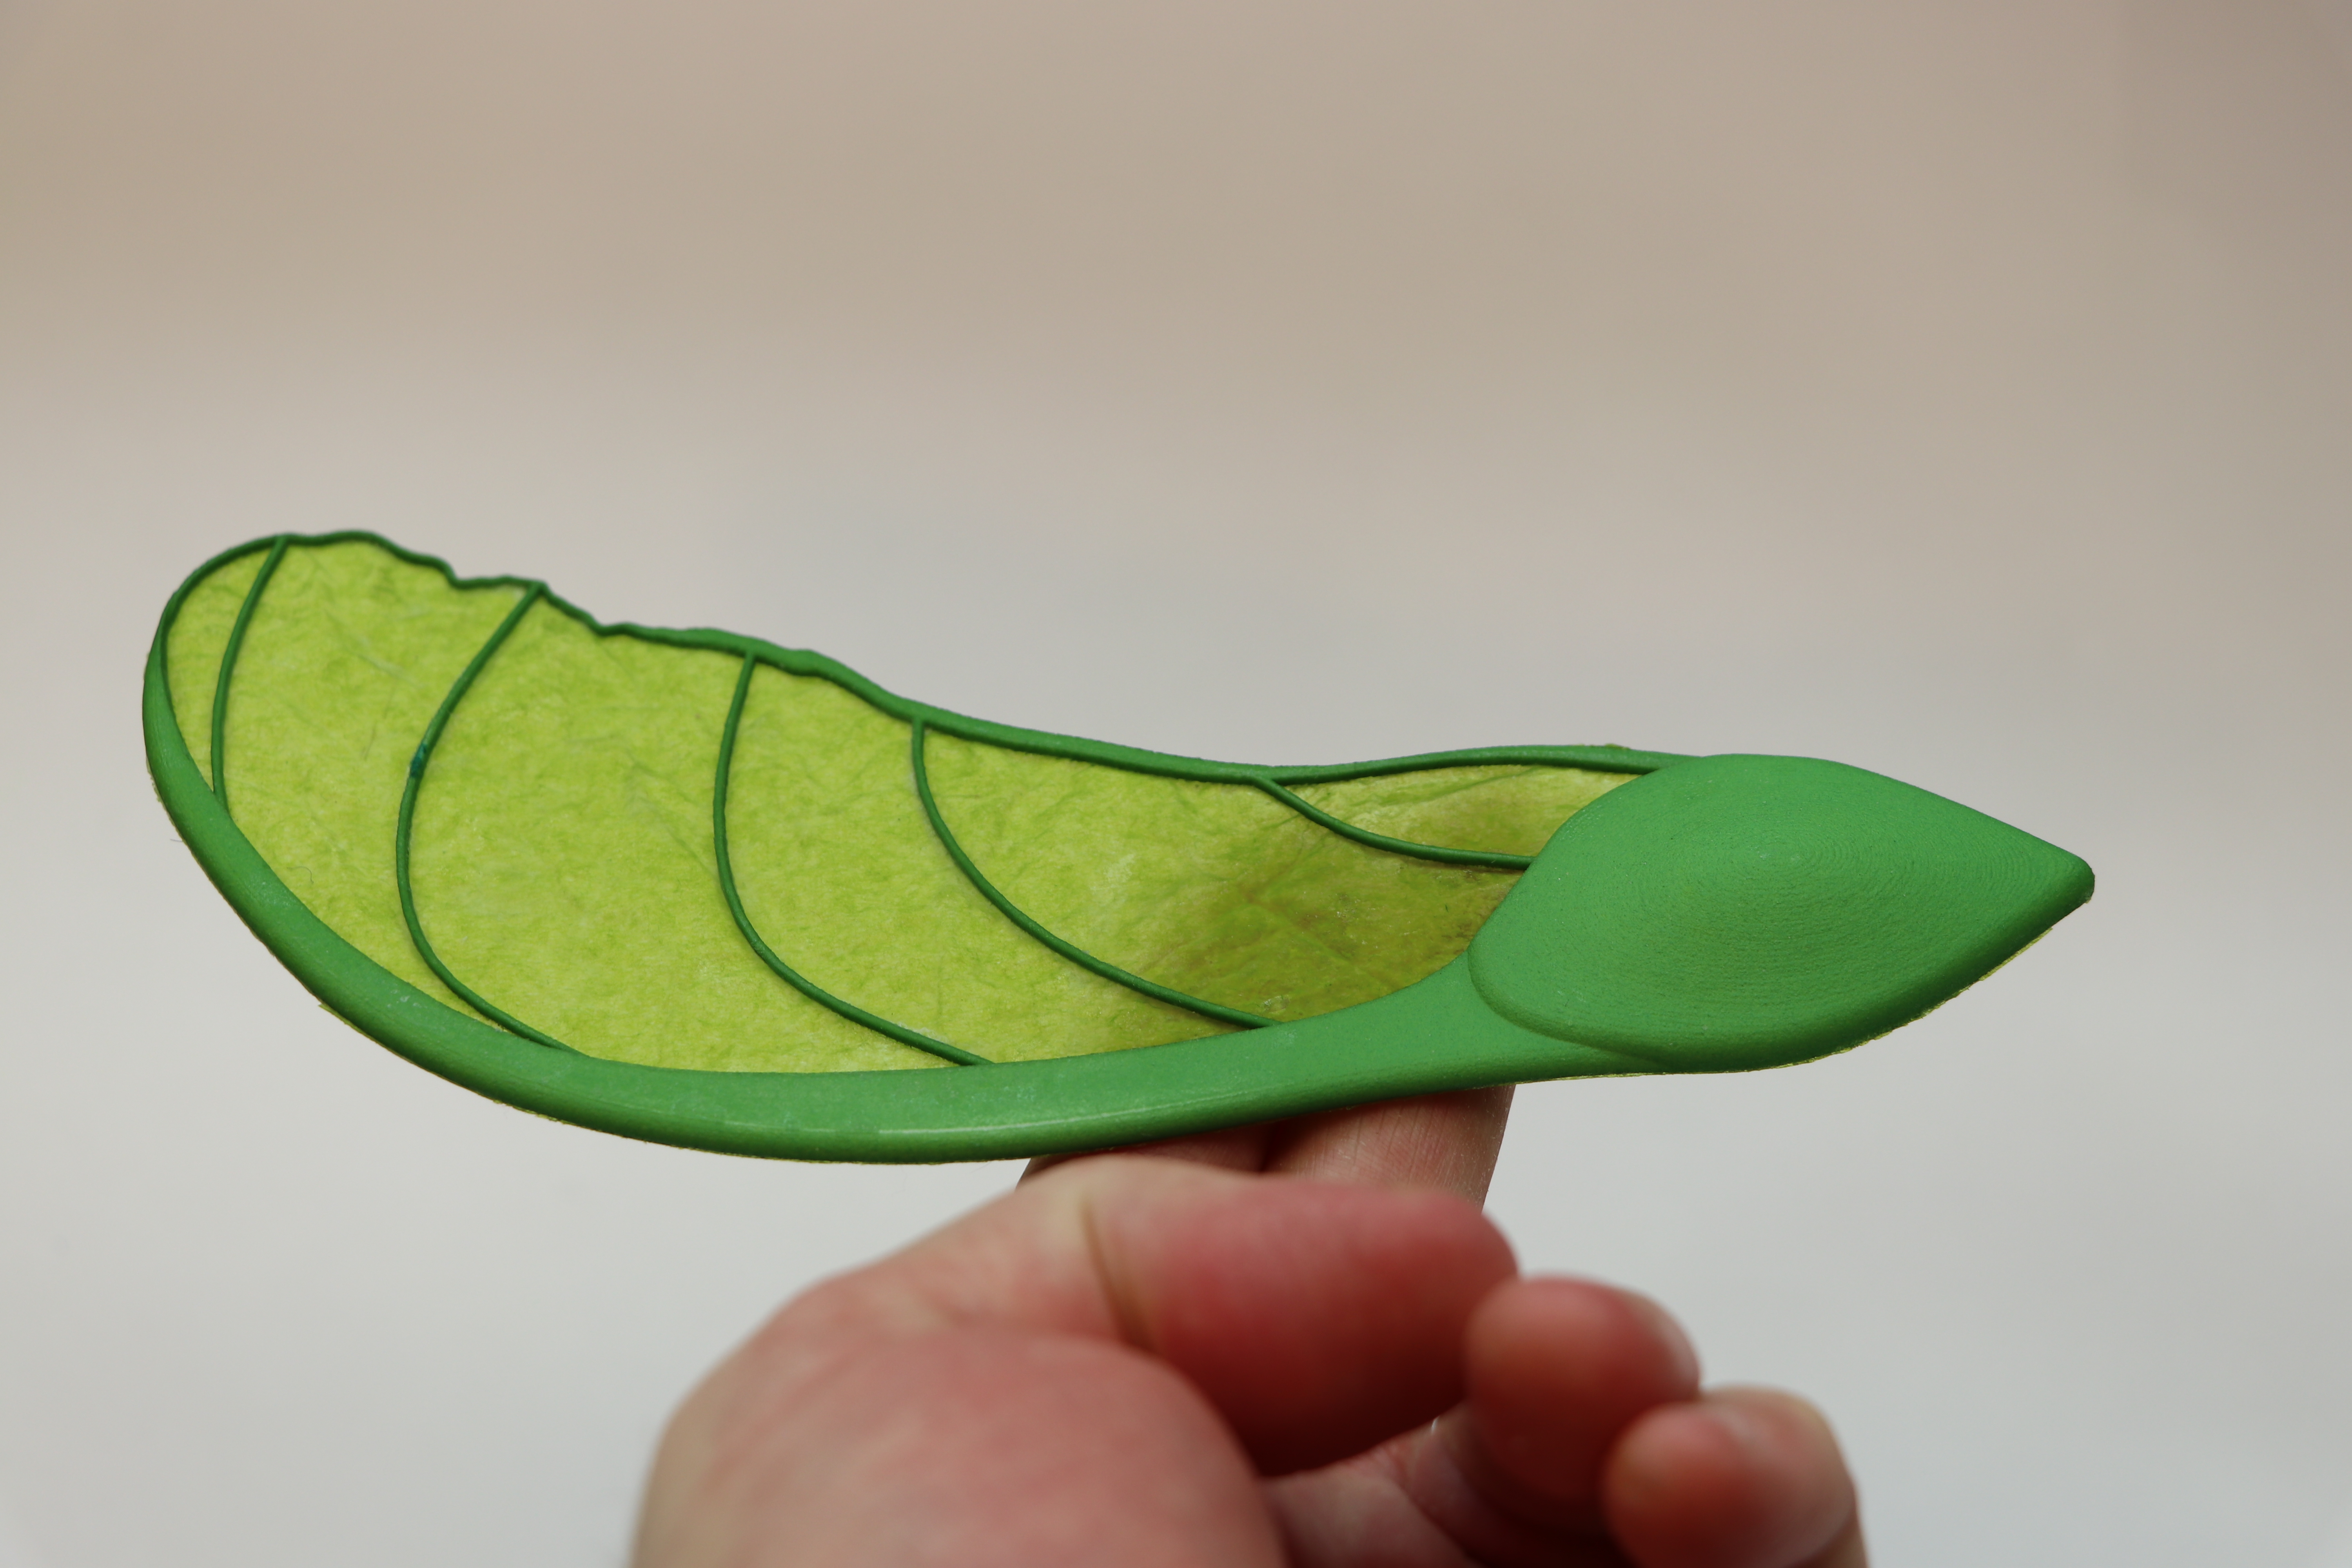
3. Next, clean the bottom roughed-up side of the Maple Helicopter with Isopropyl Alcohol using a small cleaning brush. After cleaning the bottom of the Maple Helicopter, set if off to the side to allow the alcohol to evaporate. Next place a layer of Wax Paper on your work surface and cover the Wax Paper with a single layer of Tissue Paper. I wrinkled my Tissue Paper because I think it gives the finished Maple Helicopter a realistic look. Now its time to put on some nitrile gloves, safety glasses, and your respirator. Now use the brush applicator from the Krazy glue to apply a layer of glue to the bottom of the Maple Helicopter. I started on the seed side of the Helicopter and worked my way out. Now press the Maple Helicopter onto the Tissue Paper.
Step 4
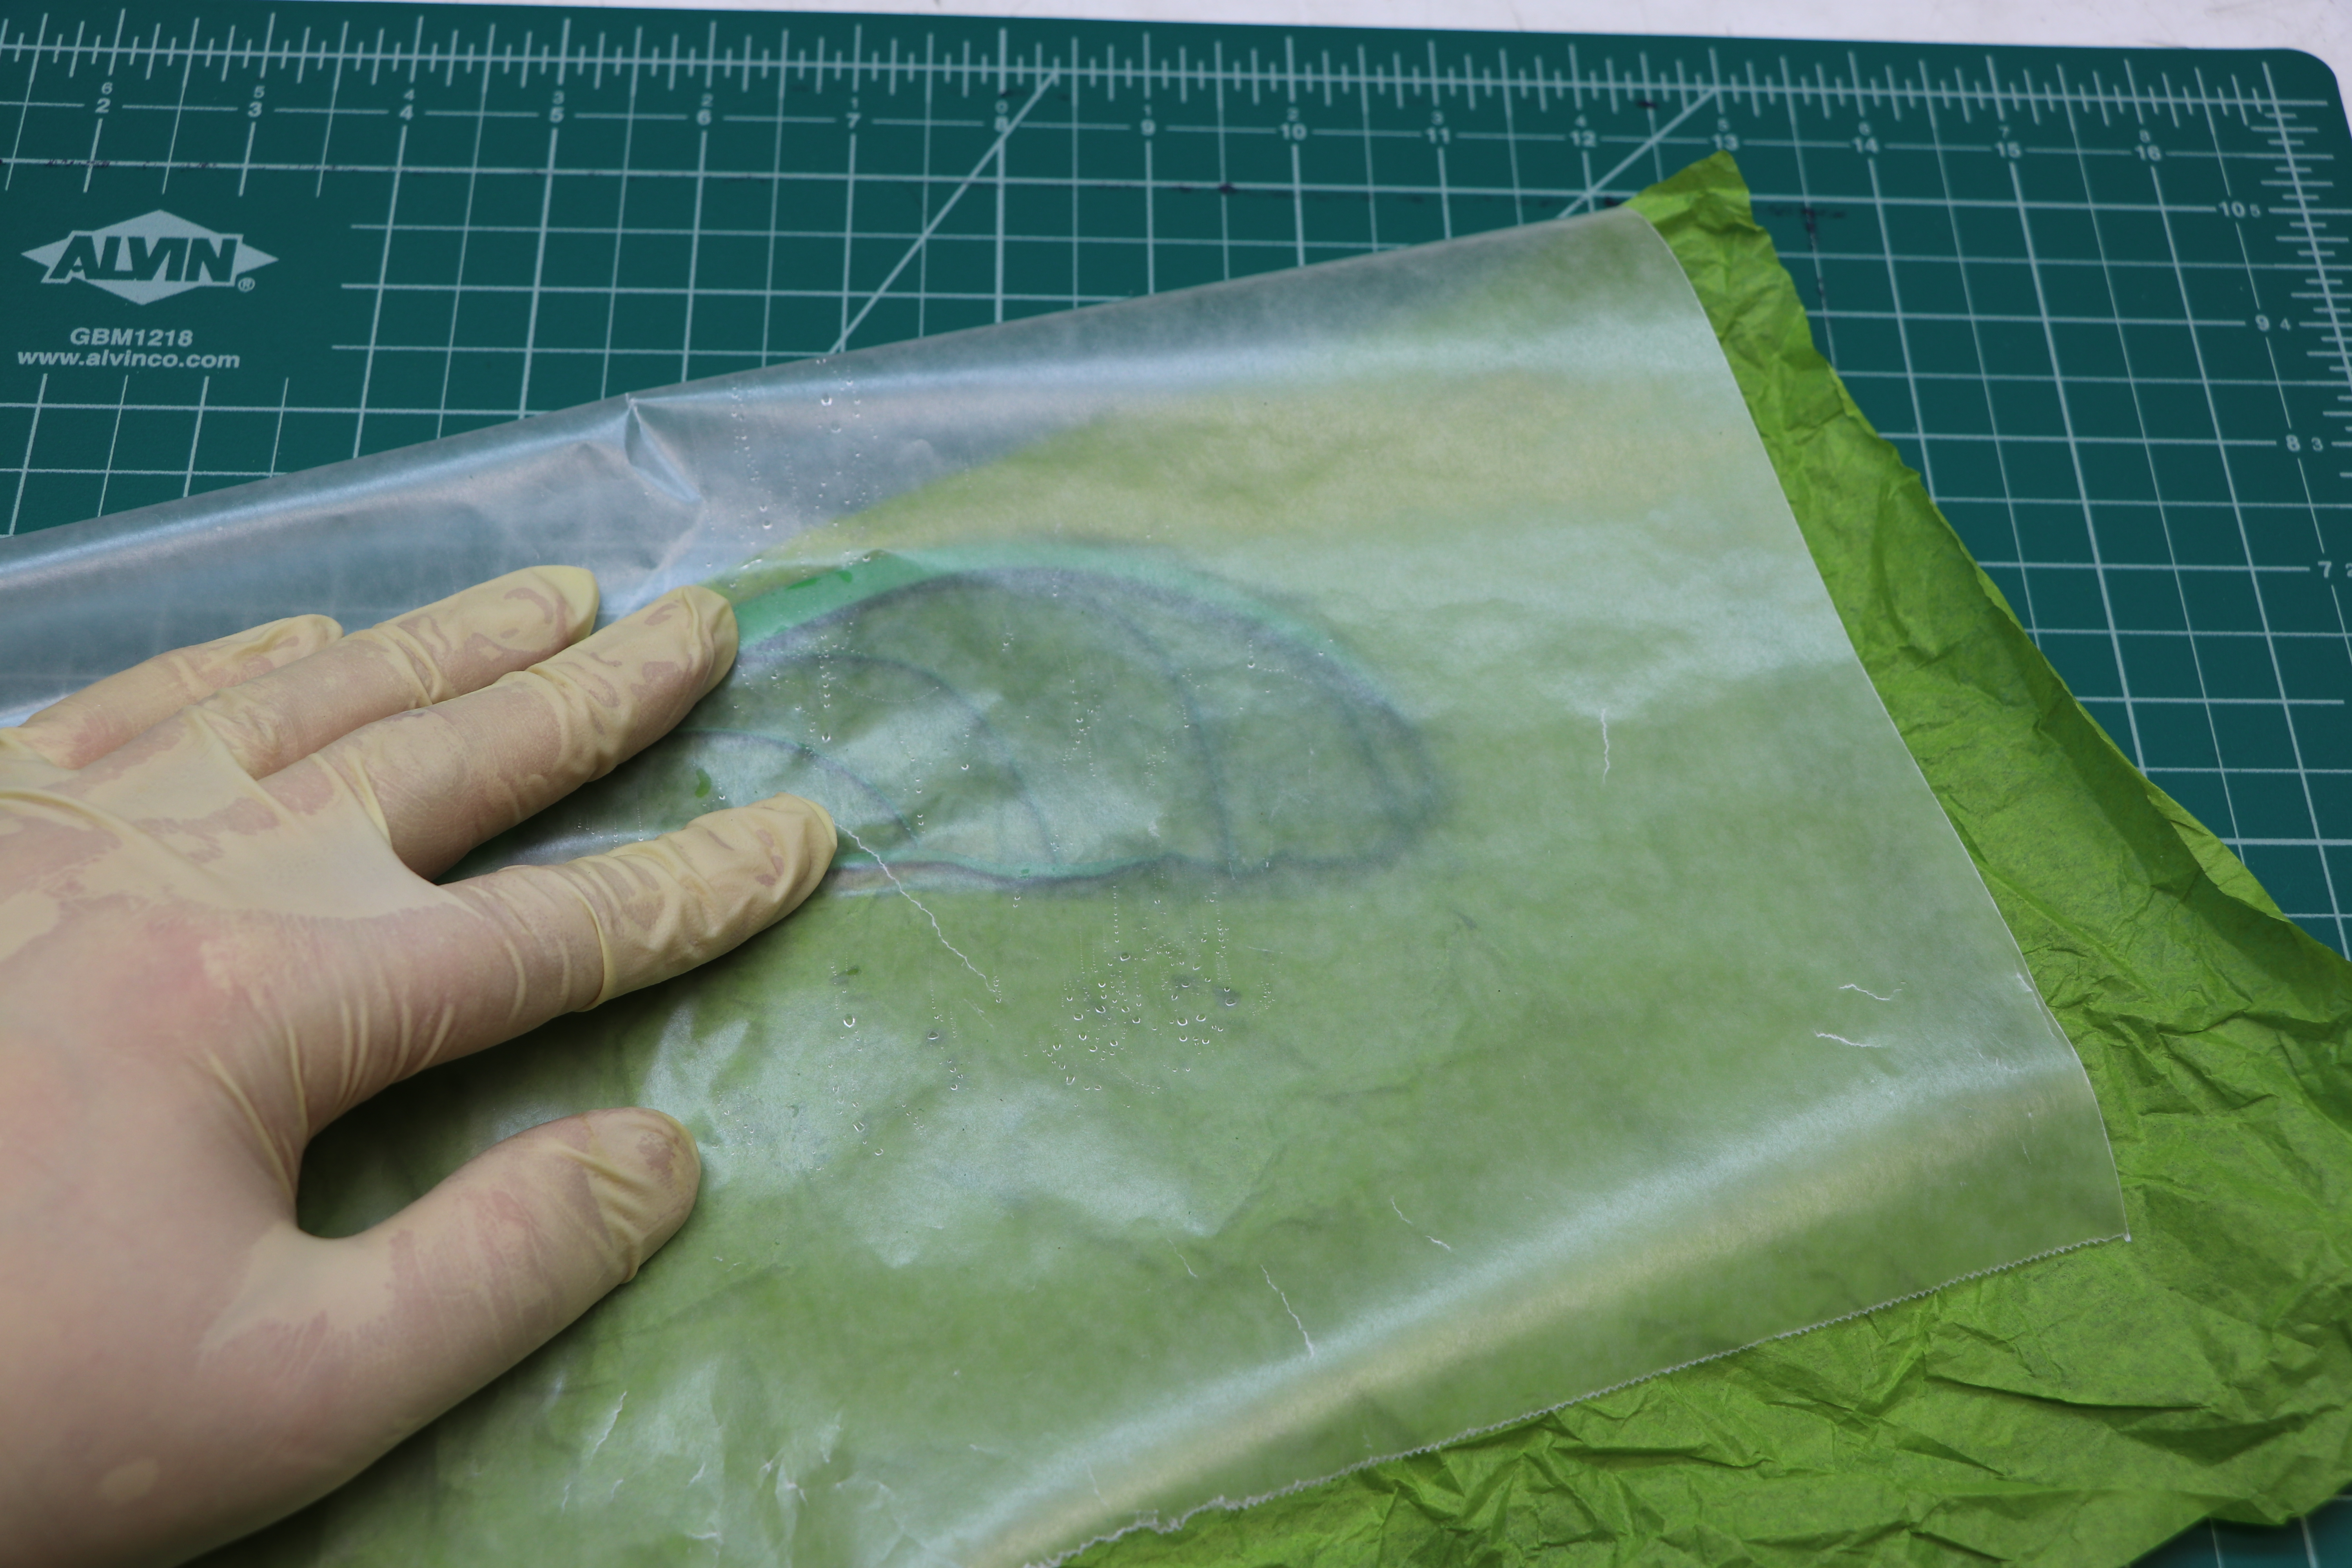
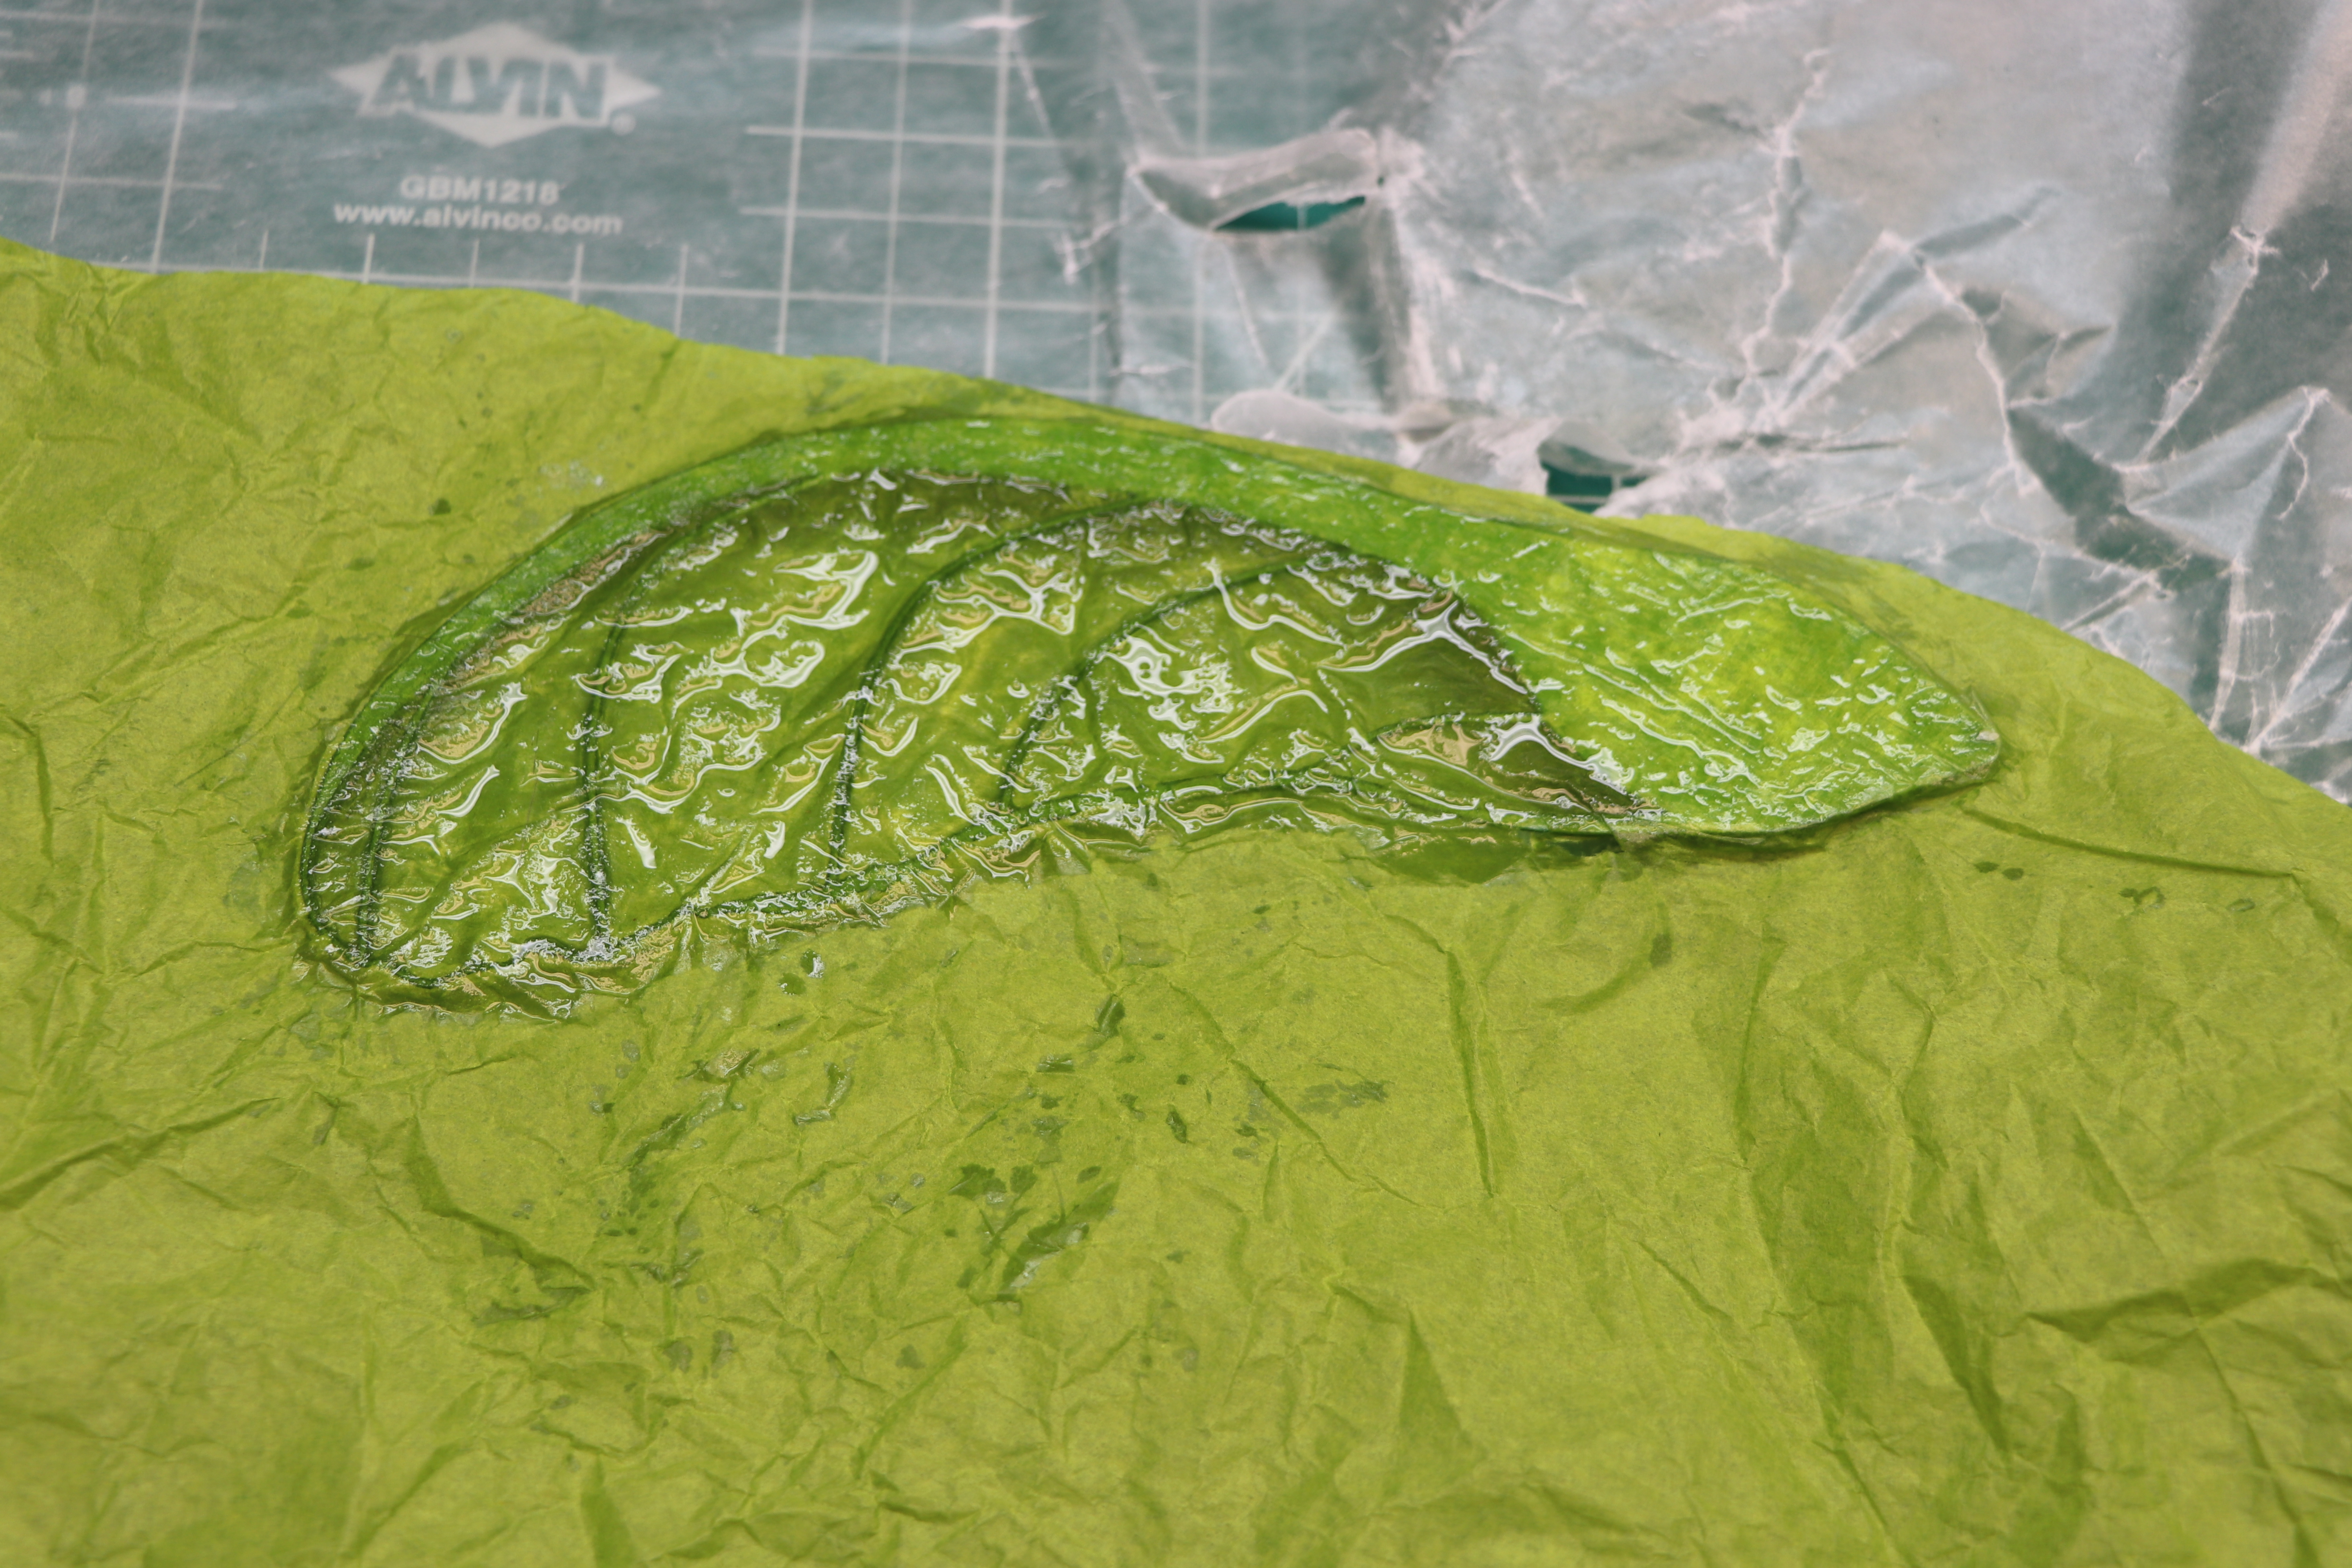
4. Next, fold the Wax Paper over the Maple Helicopter and place a book on it to help the paper adhere to the Helicopter. Allow the Maple Helicopter to sit like this for about an hour (or until the paper has bonded to the Helicopter).
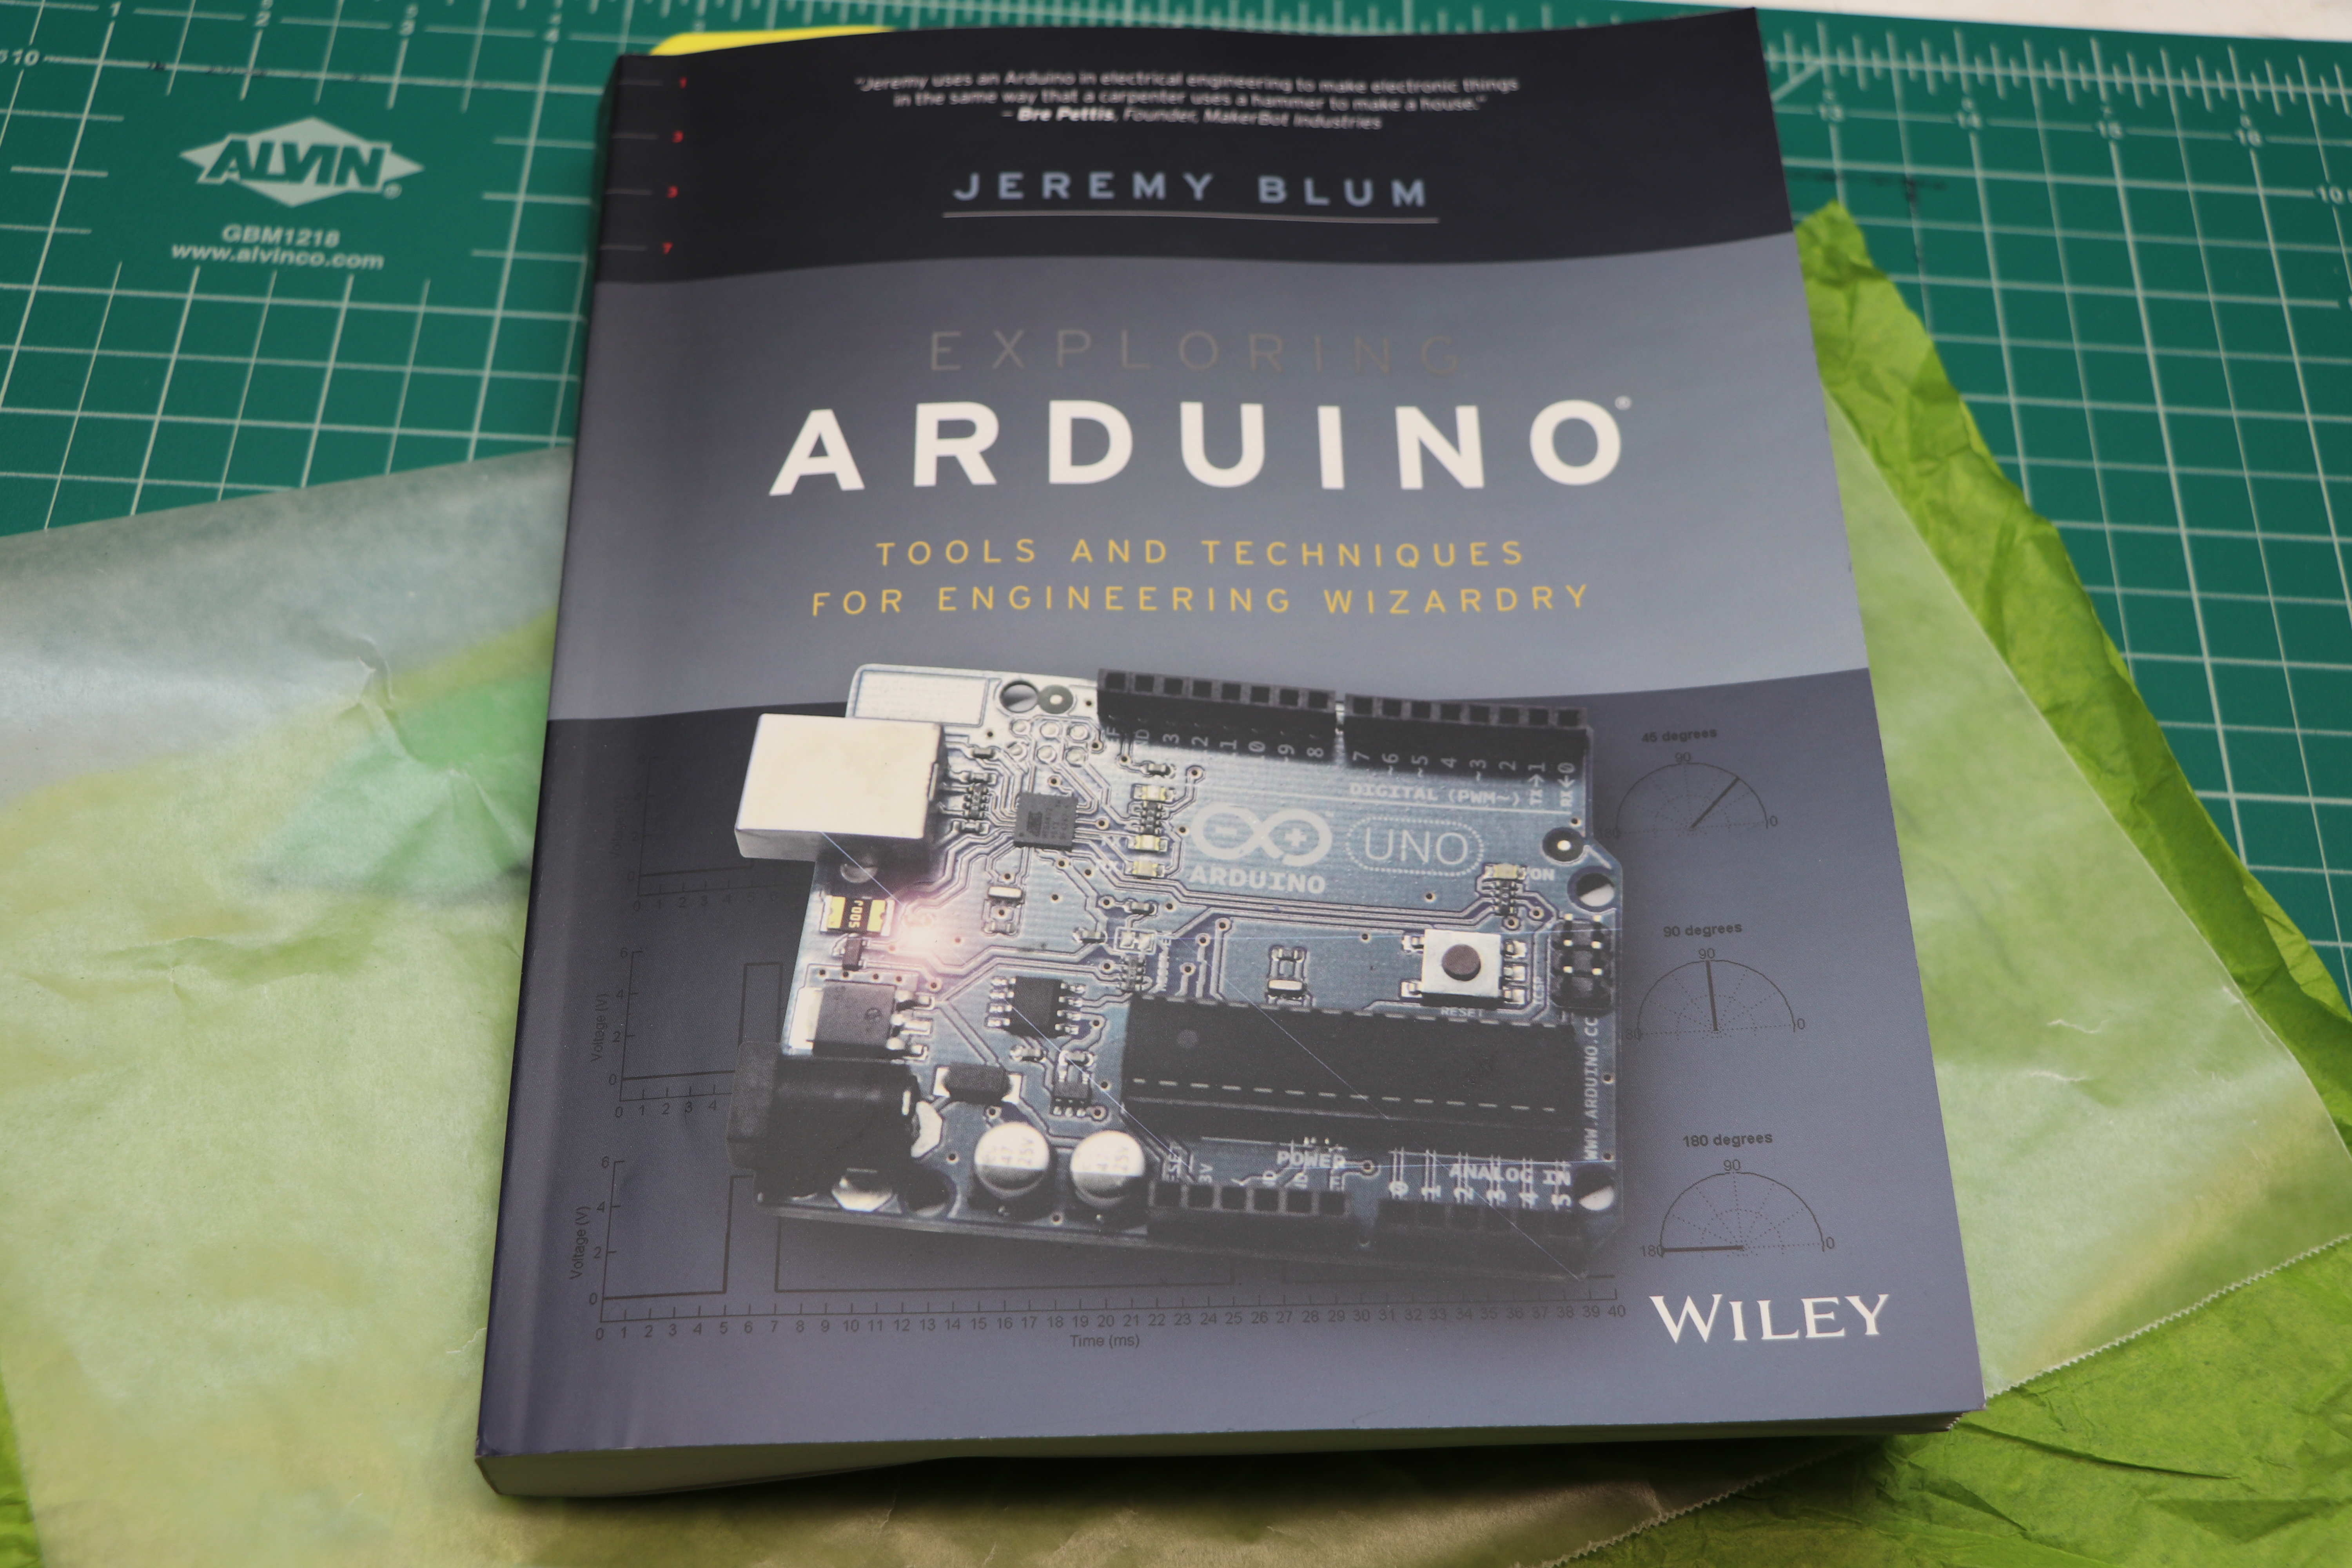
Note: the above book “Exploring Arduino” by Jeremy Blum is great for learning Arduino!
Step 5
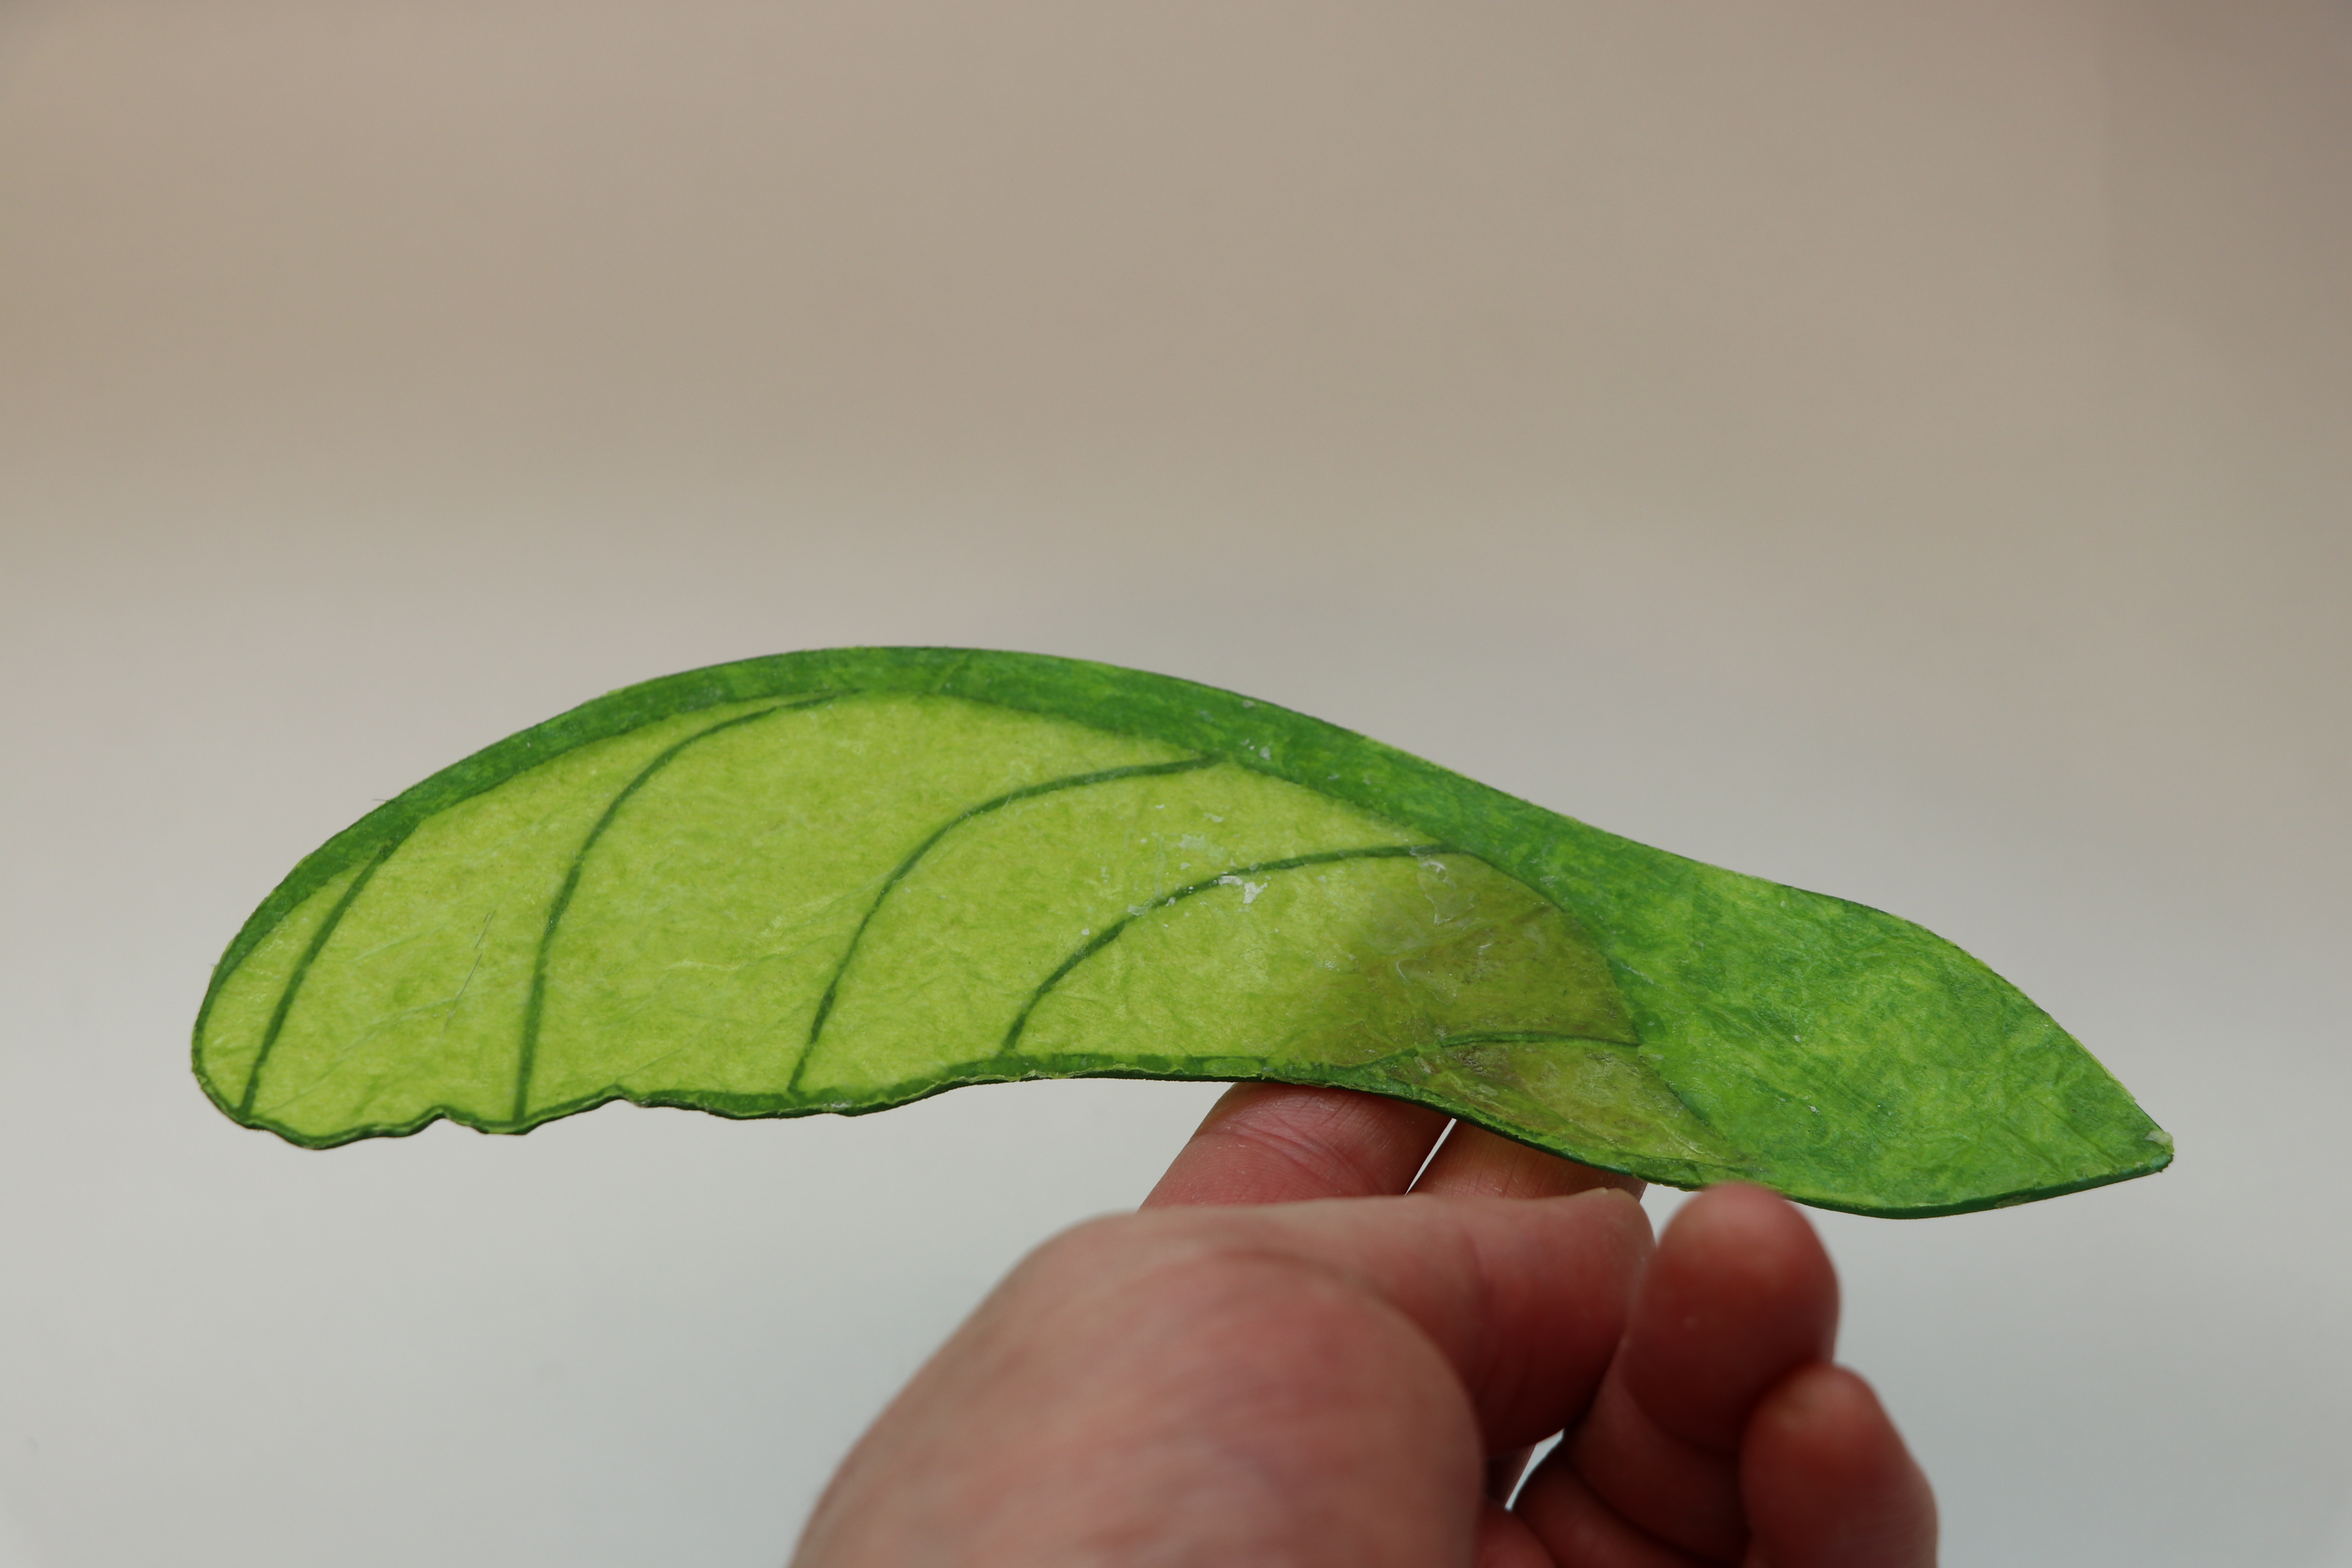
5. Now use the Krazy Glue brush to saturate both sides of the paper on the Maple Helicopter. This will give the Maple Helicopter strength. Allow the Maple Helicopter to sit in a well-ventilated area until the Krazy Glue is dry.
Step 6
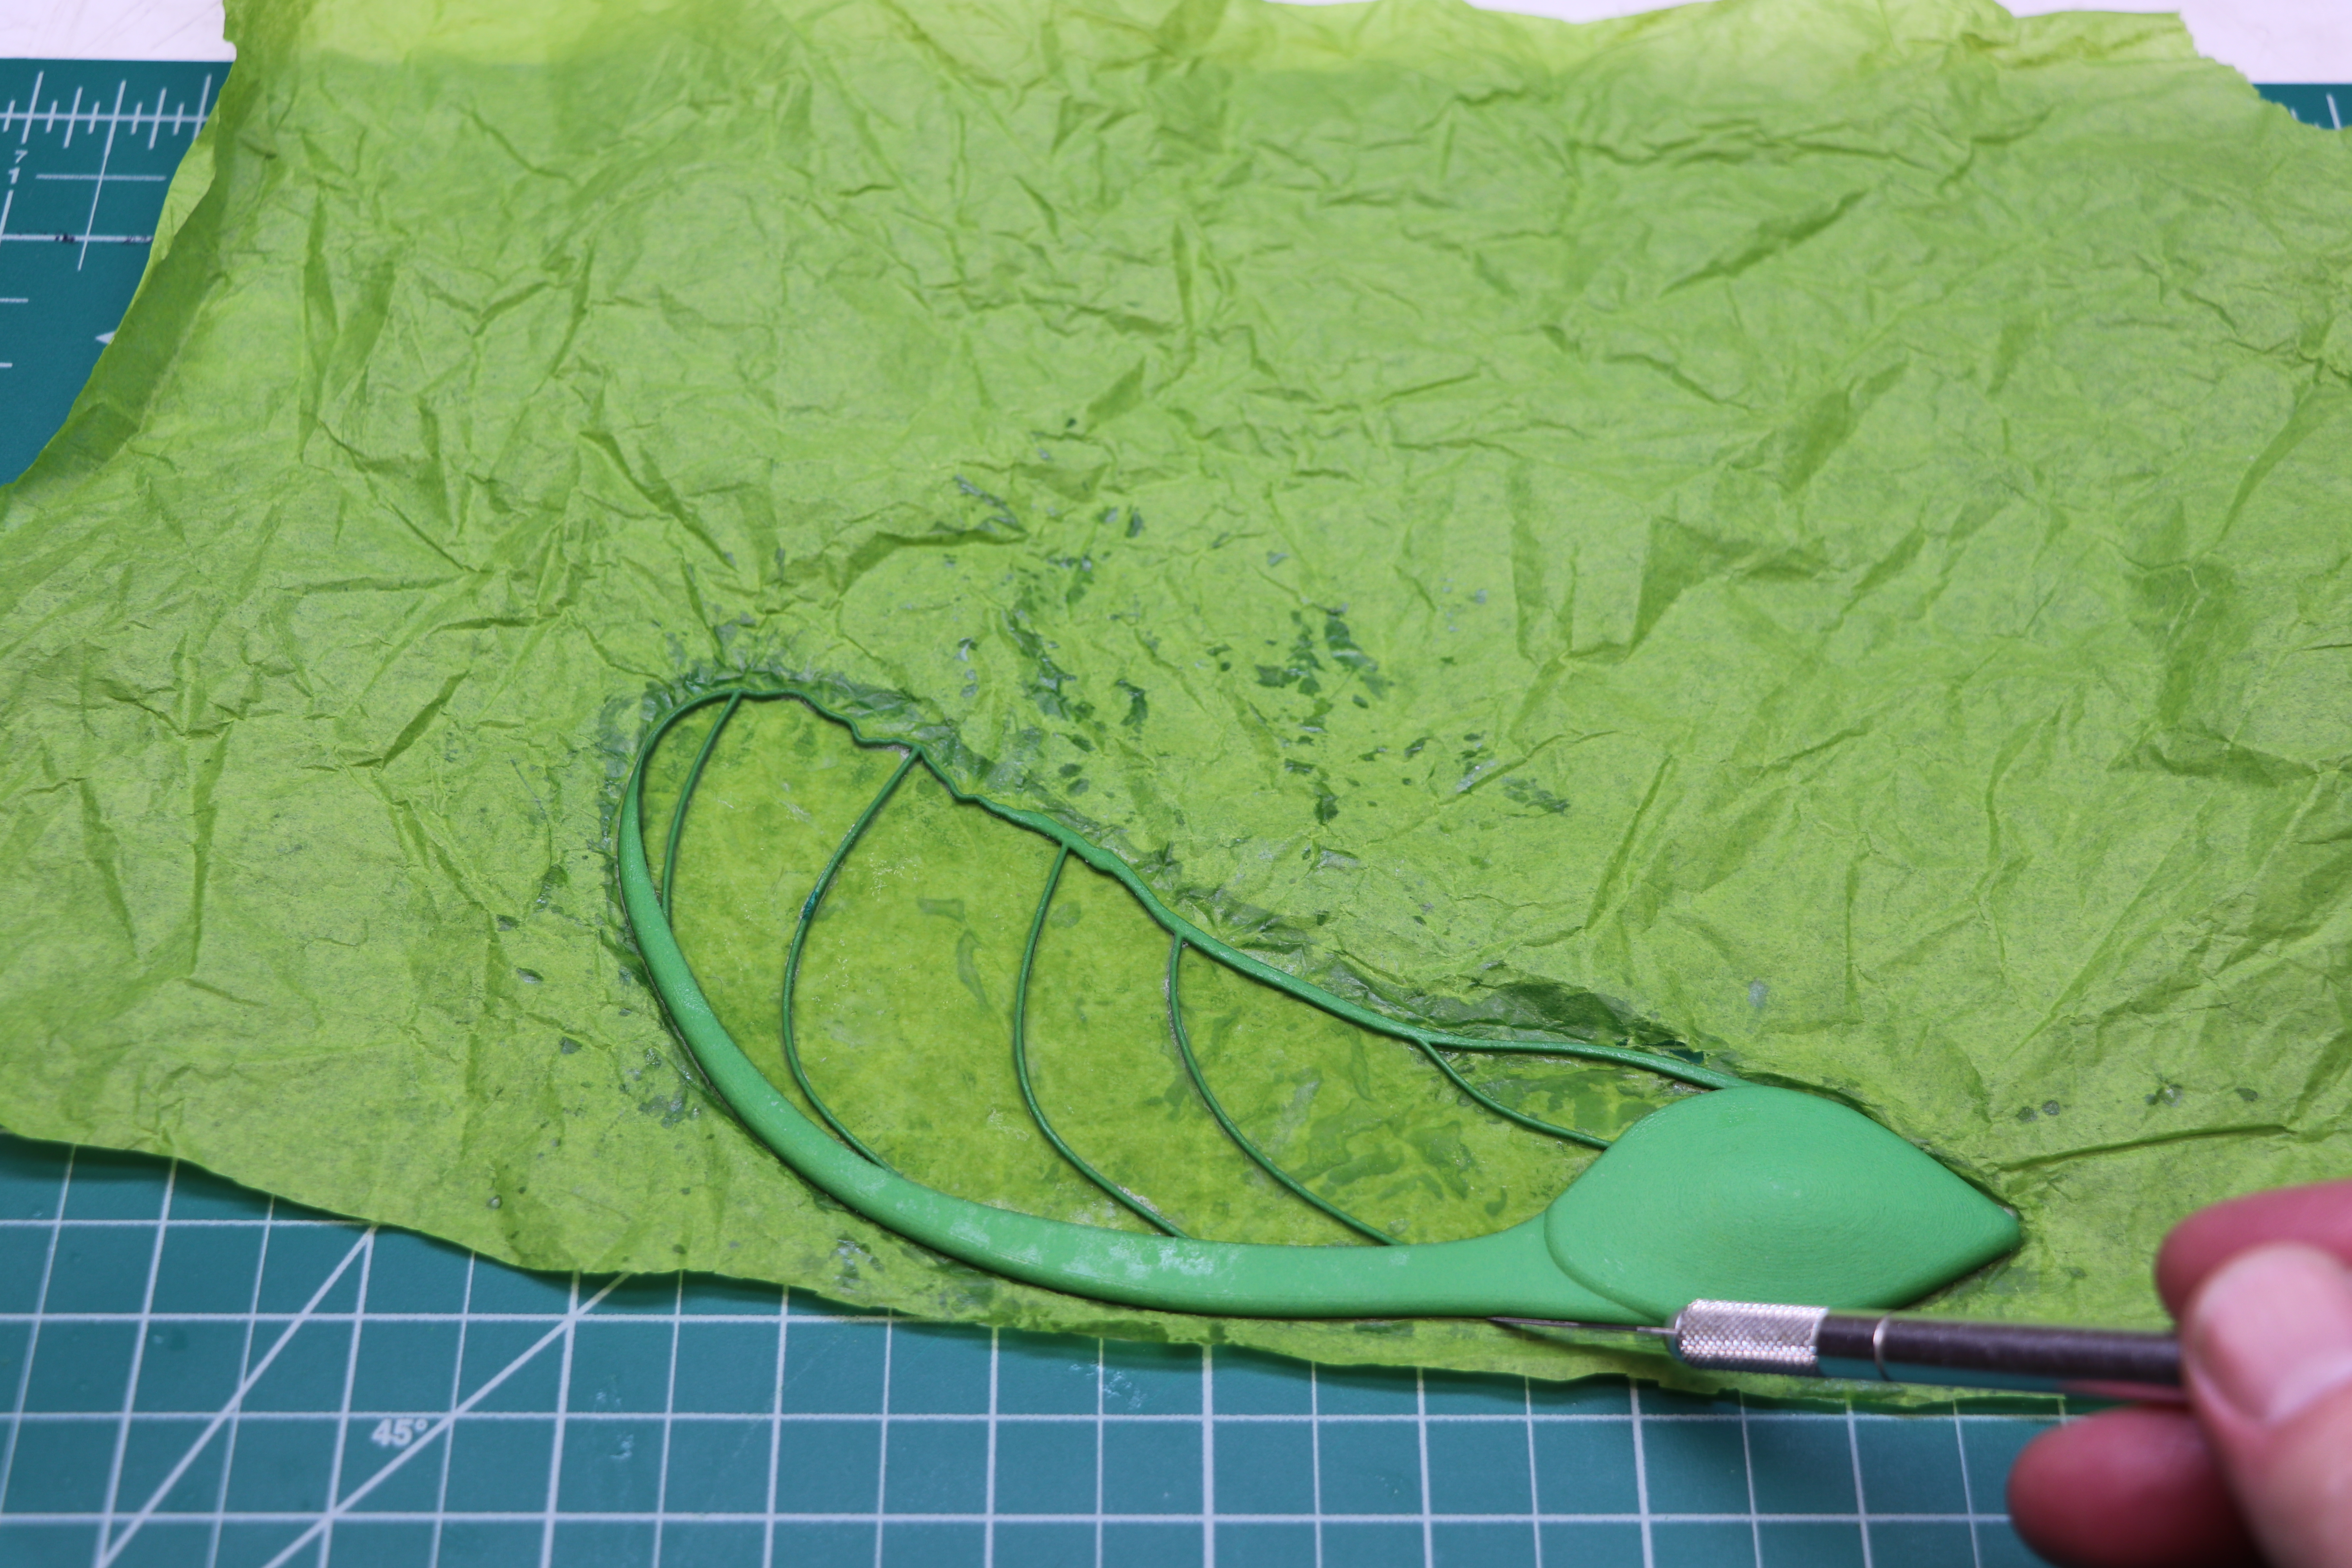
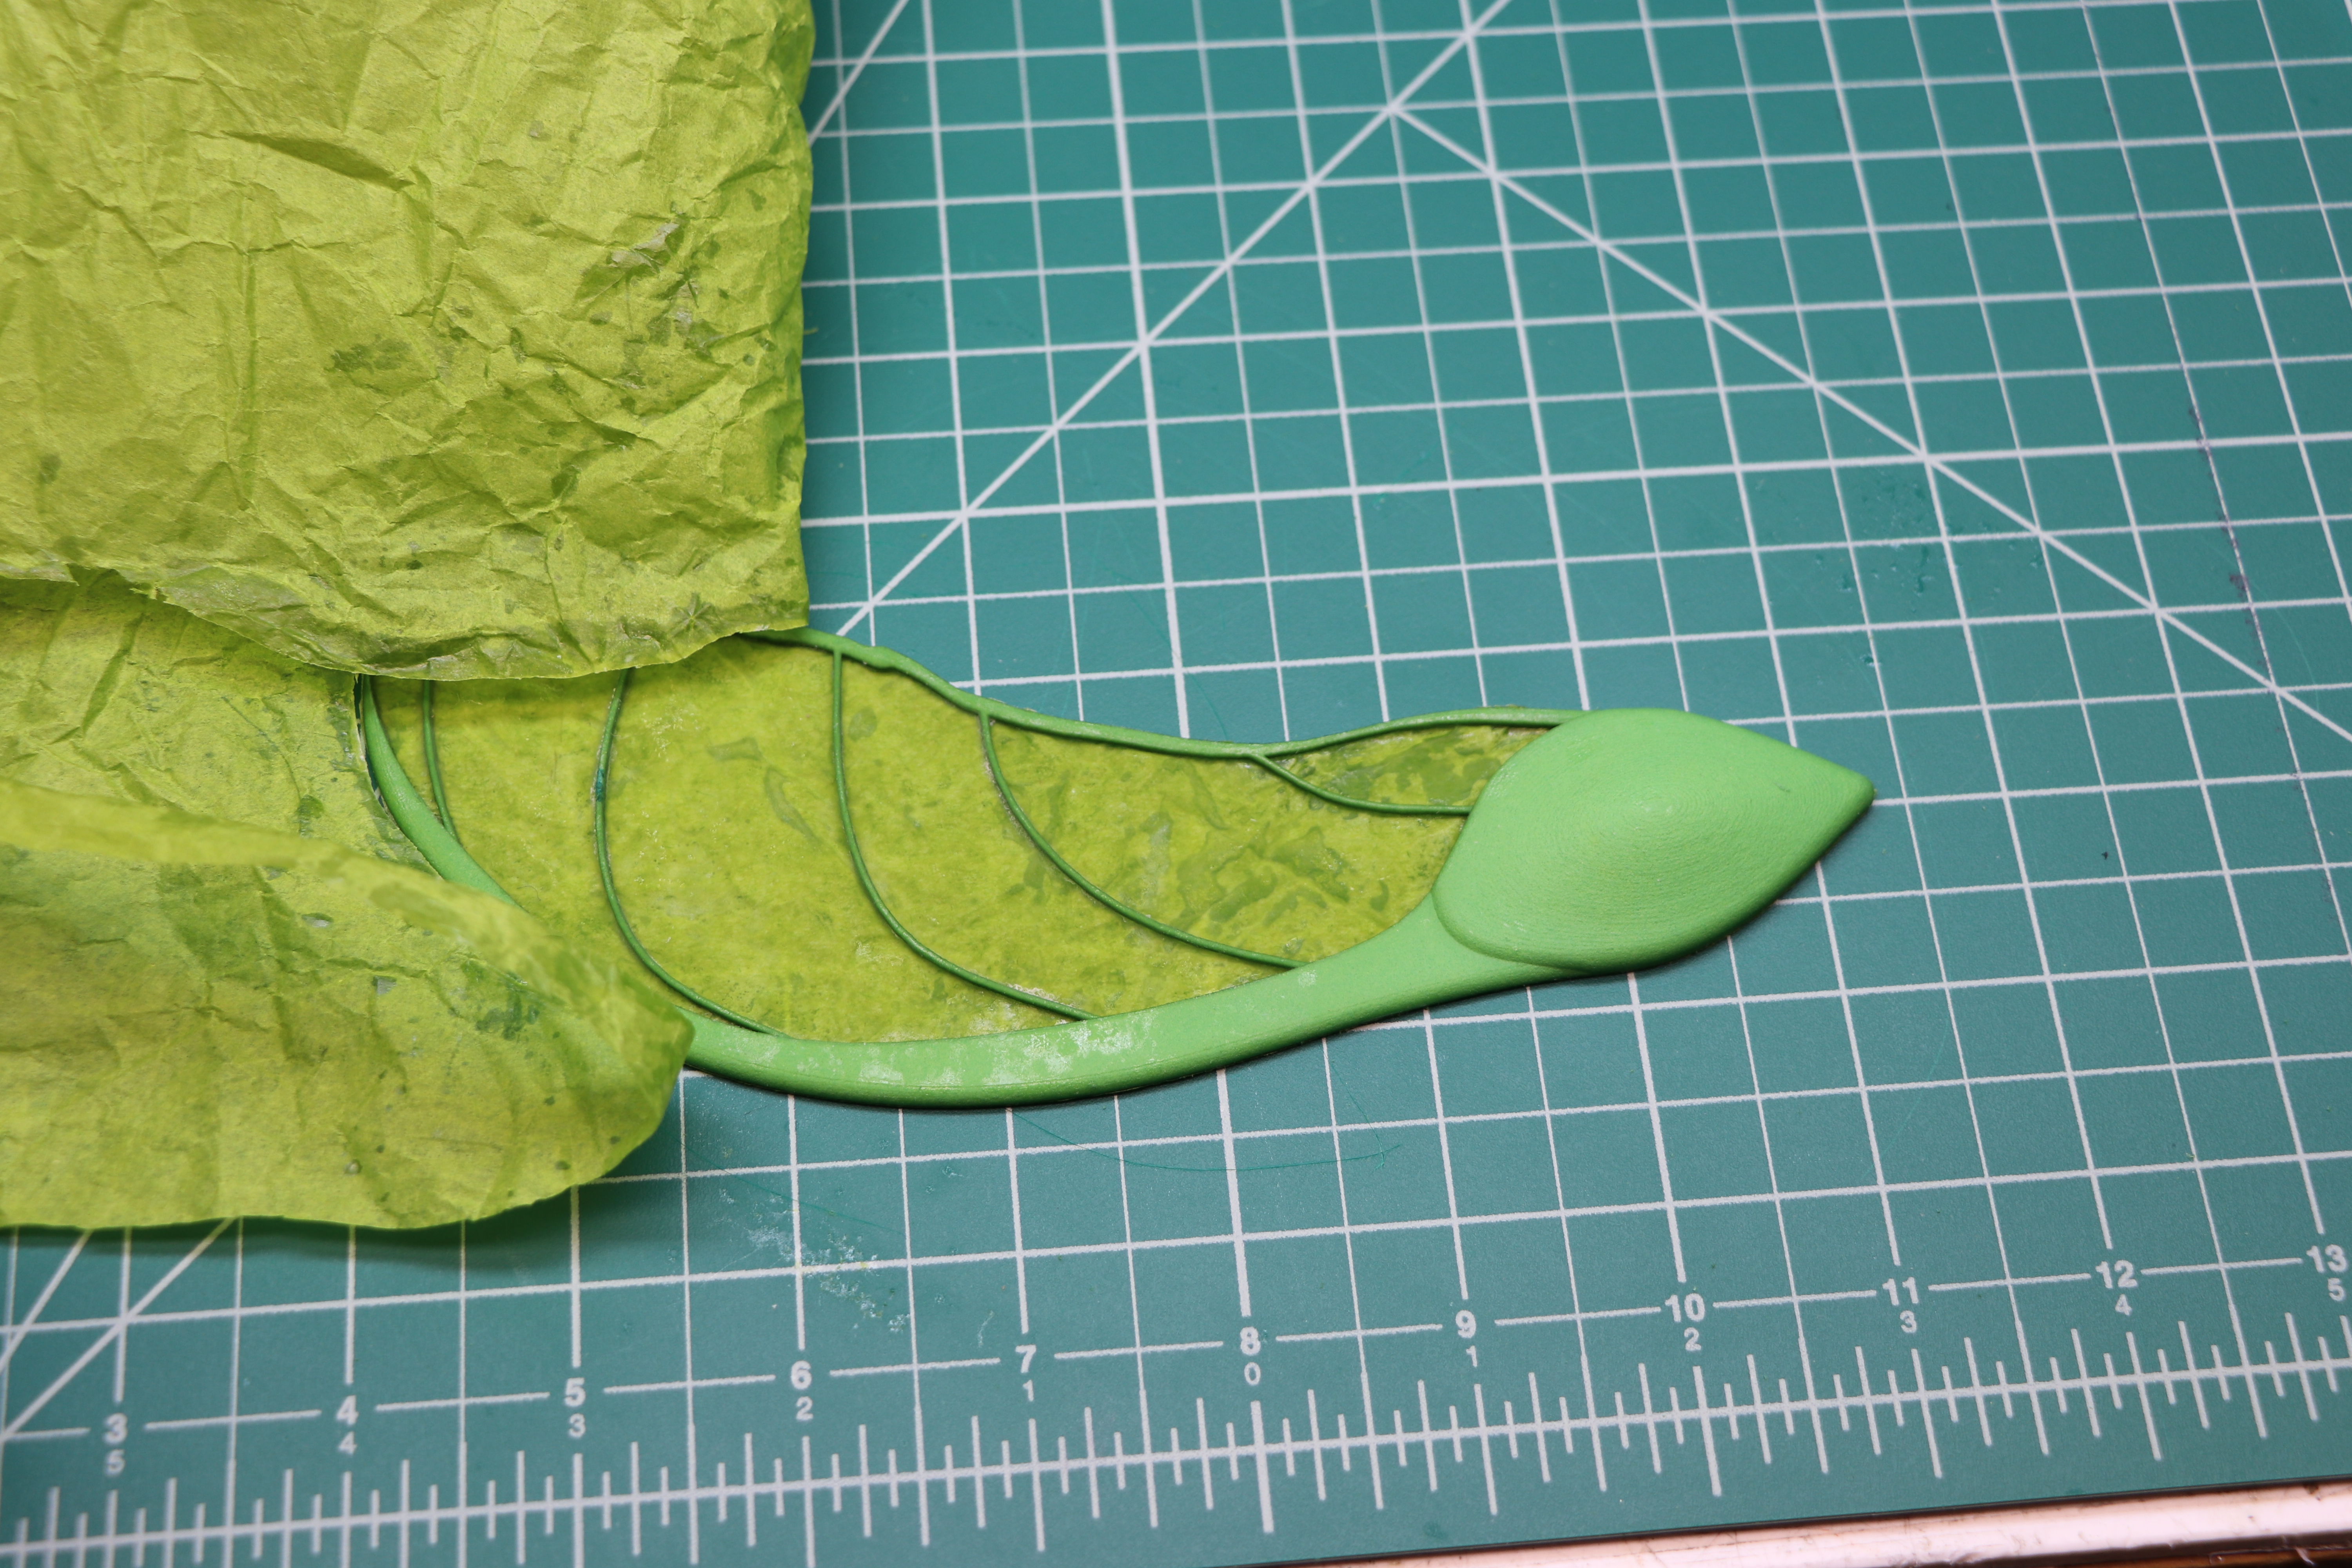
6. Now use the X-Acto knife to trim around the perimeter of the Maple Helicopter.
Step 7
7. Enjoy! I found that holding the Maple Helicopter near the balance point and throwing straight-up works the best.
We hope this project works great for you and you enjoy it! Please let us know if you have any questions. We plan to design more of these in the future so keep checking in. Let us know if you have a request for a custom design. We would love to see your pictures if you make this project!
Check out our latest blog posts!