
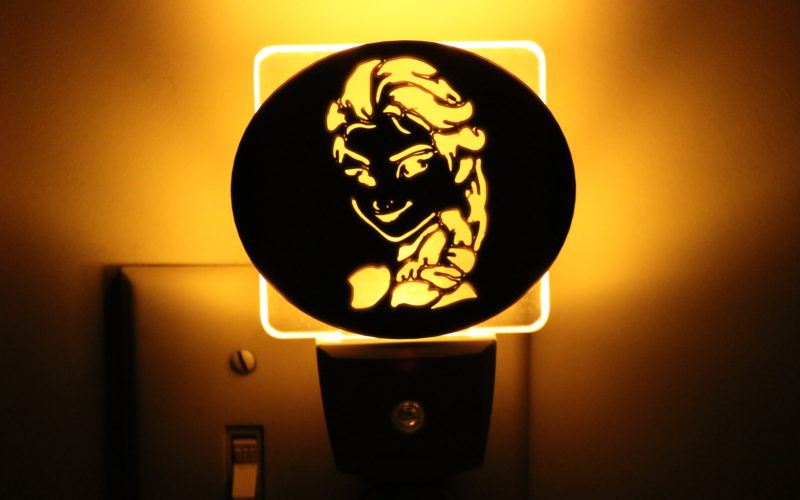
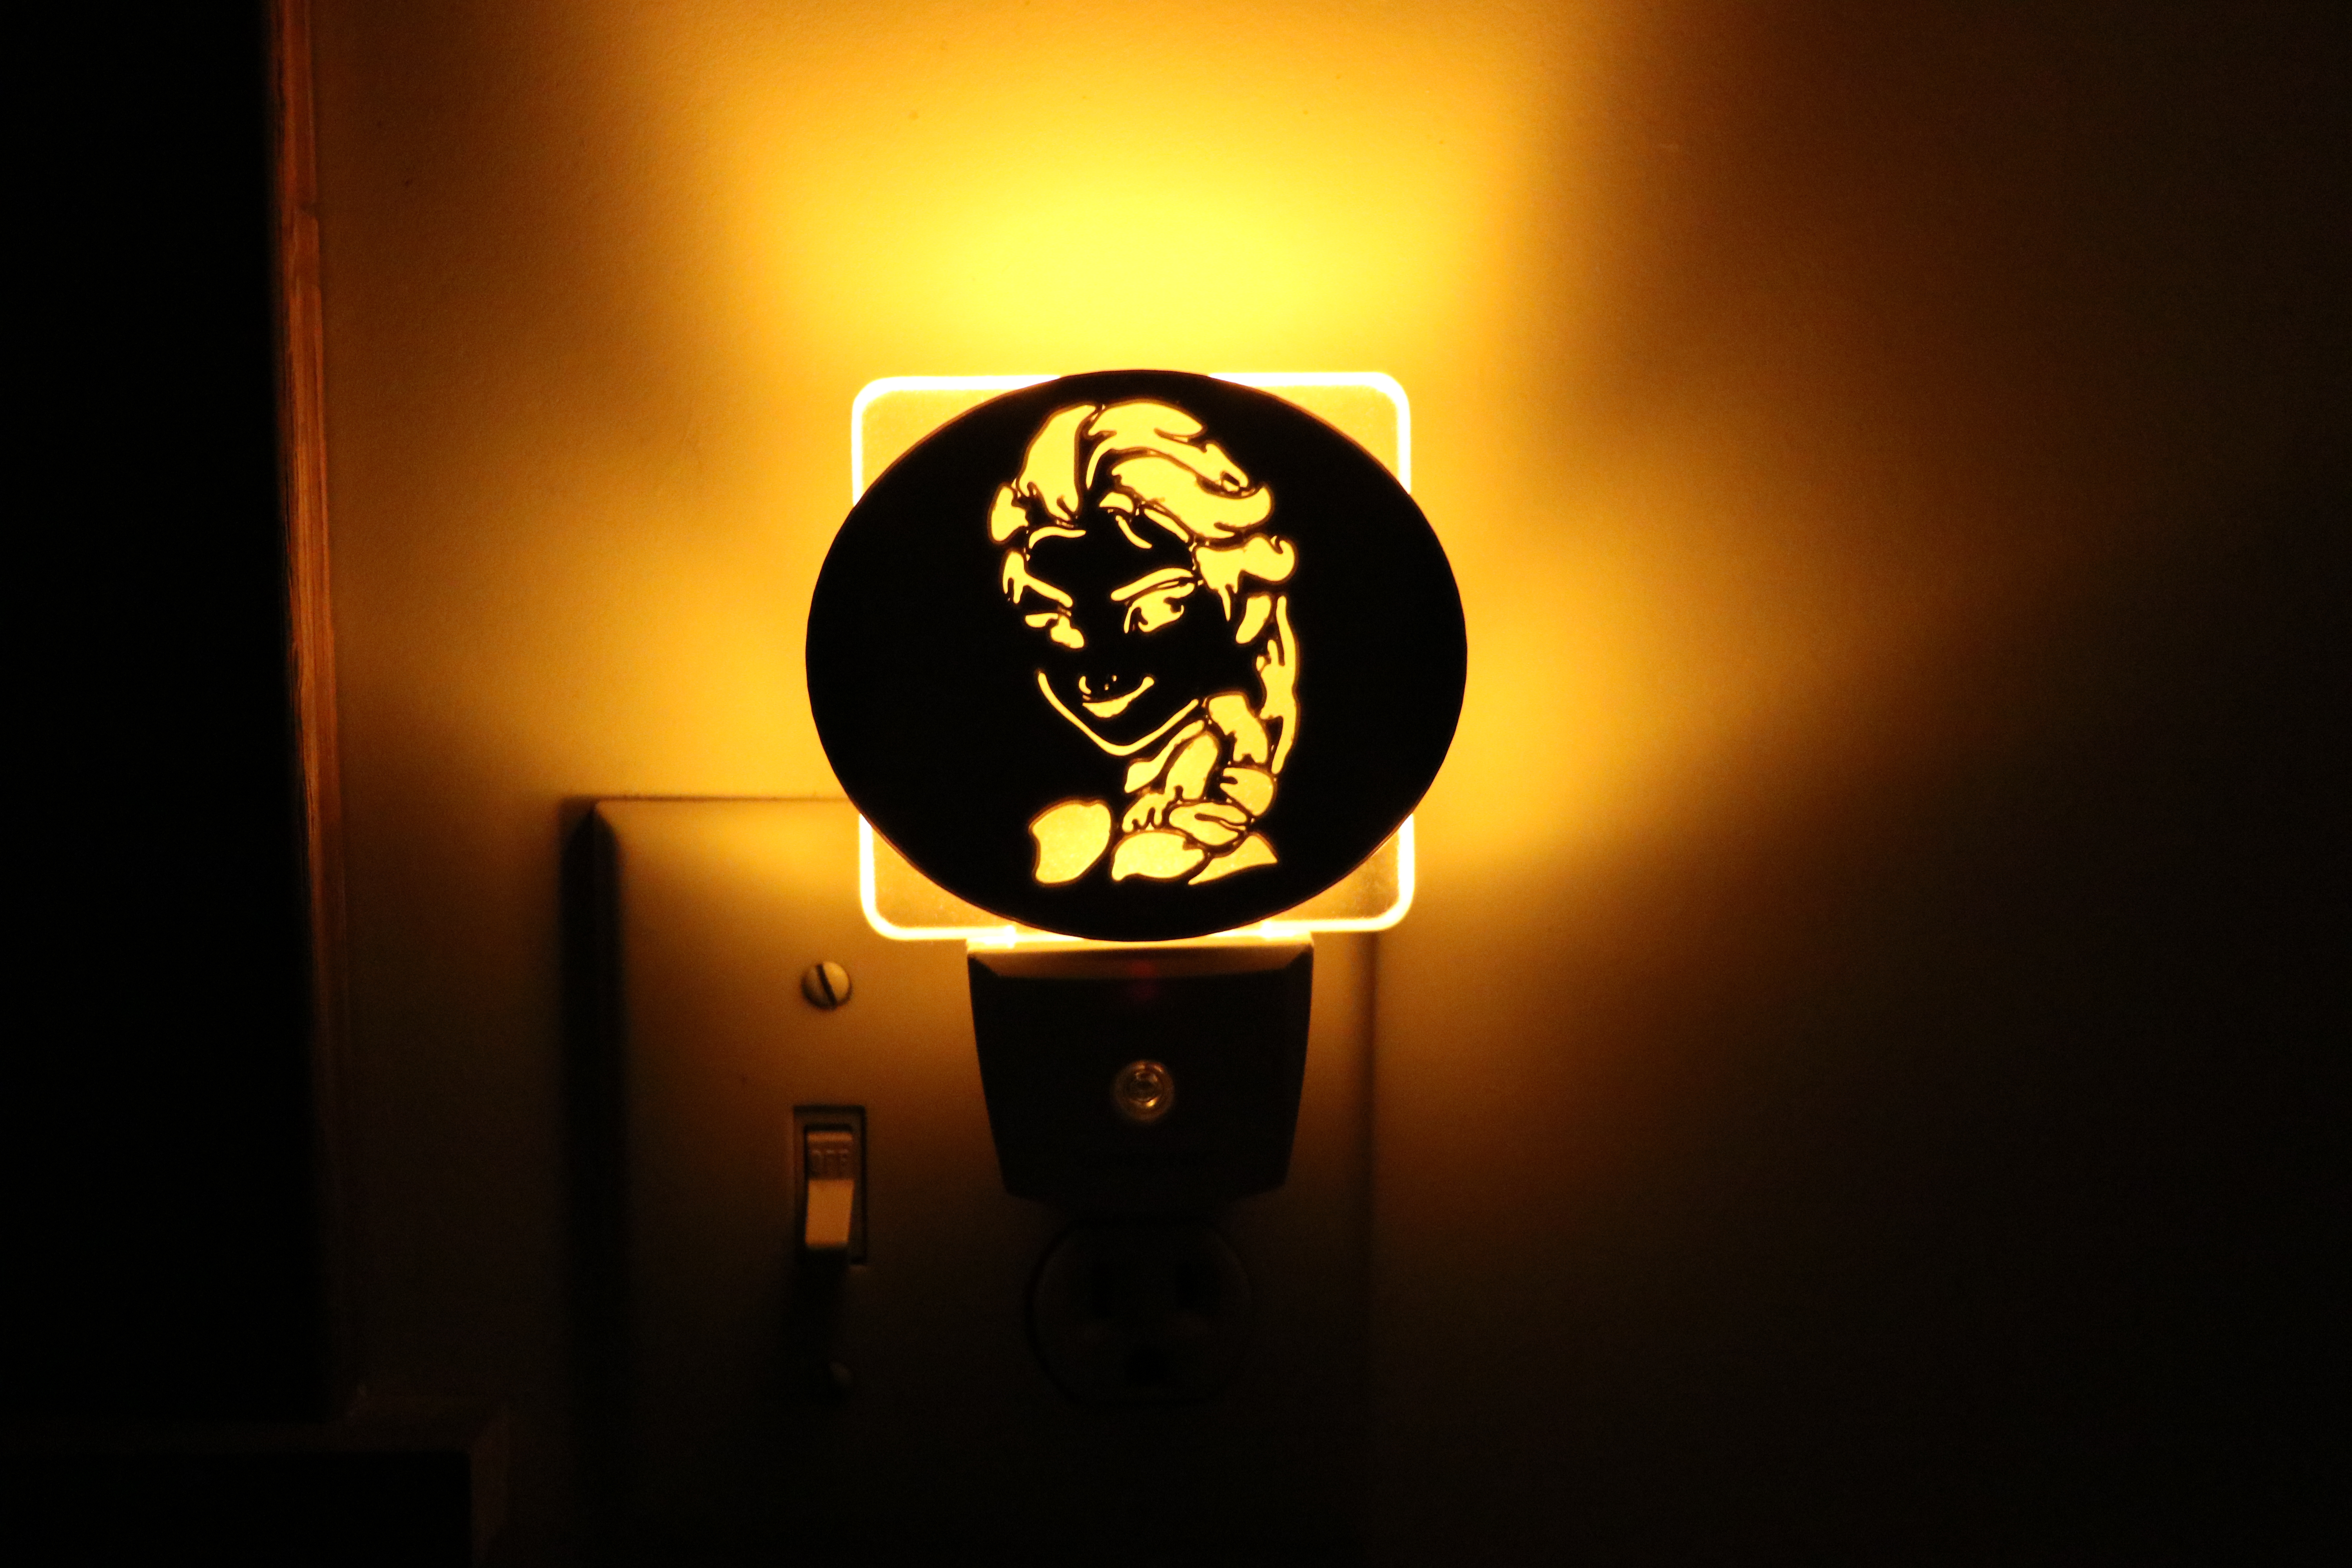
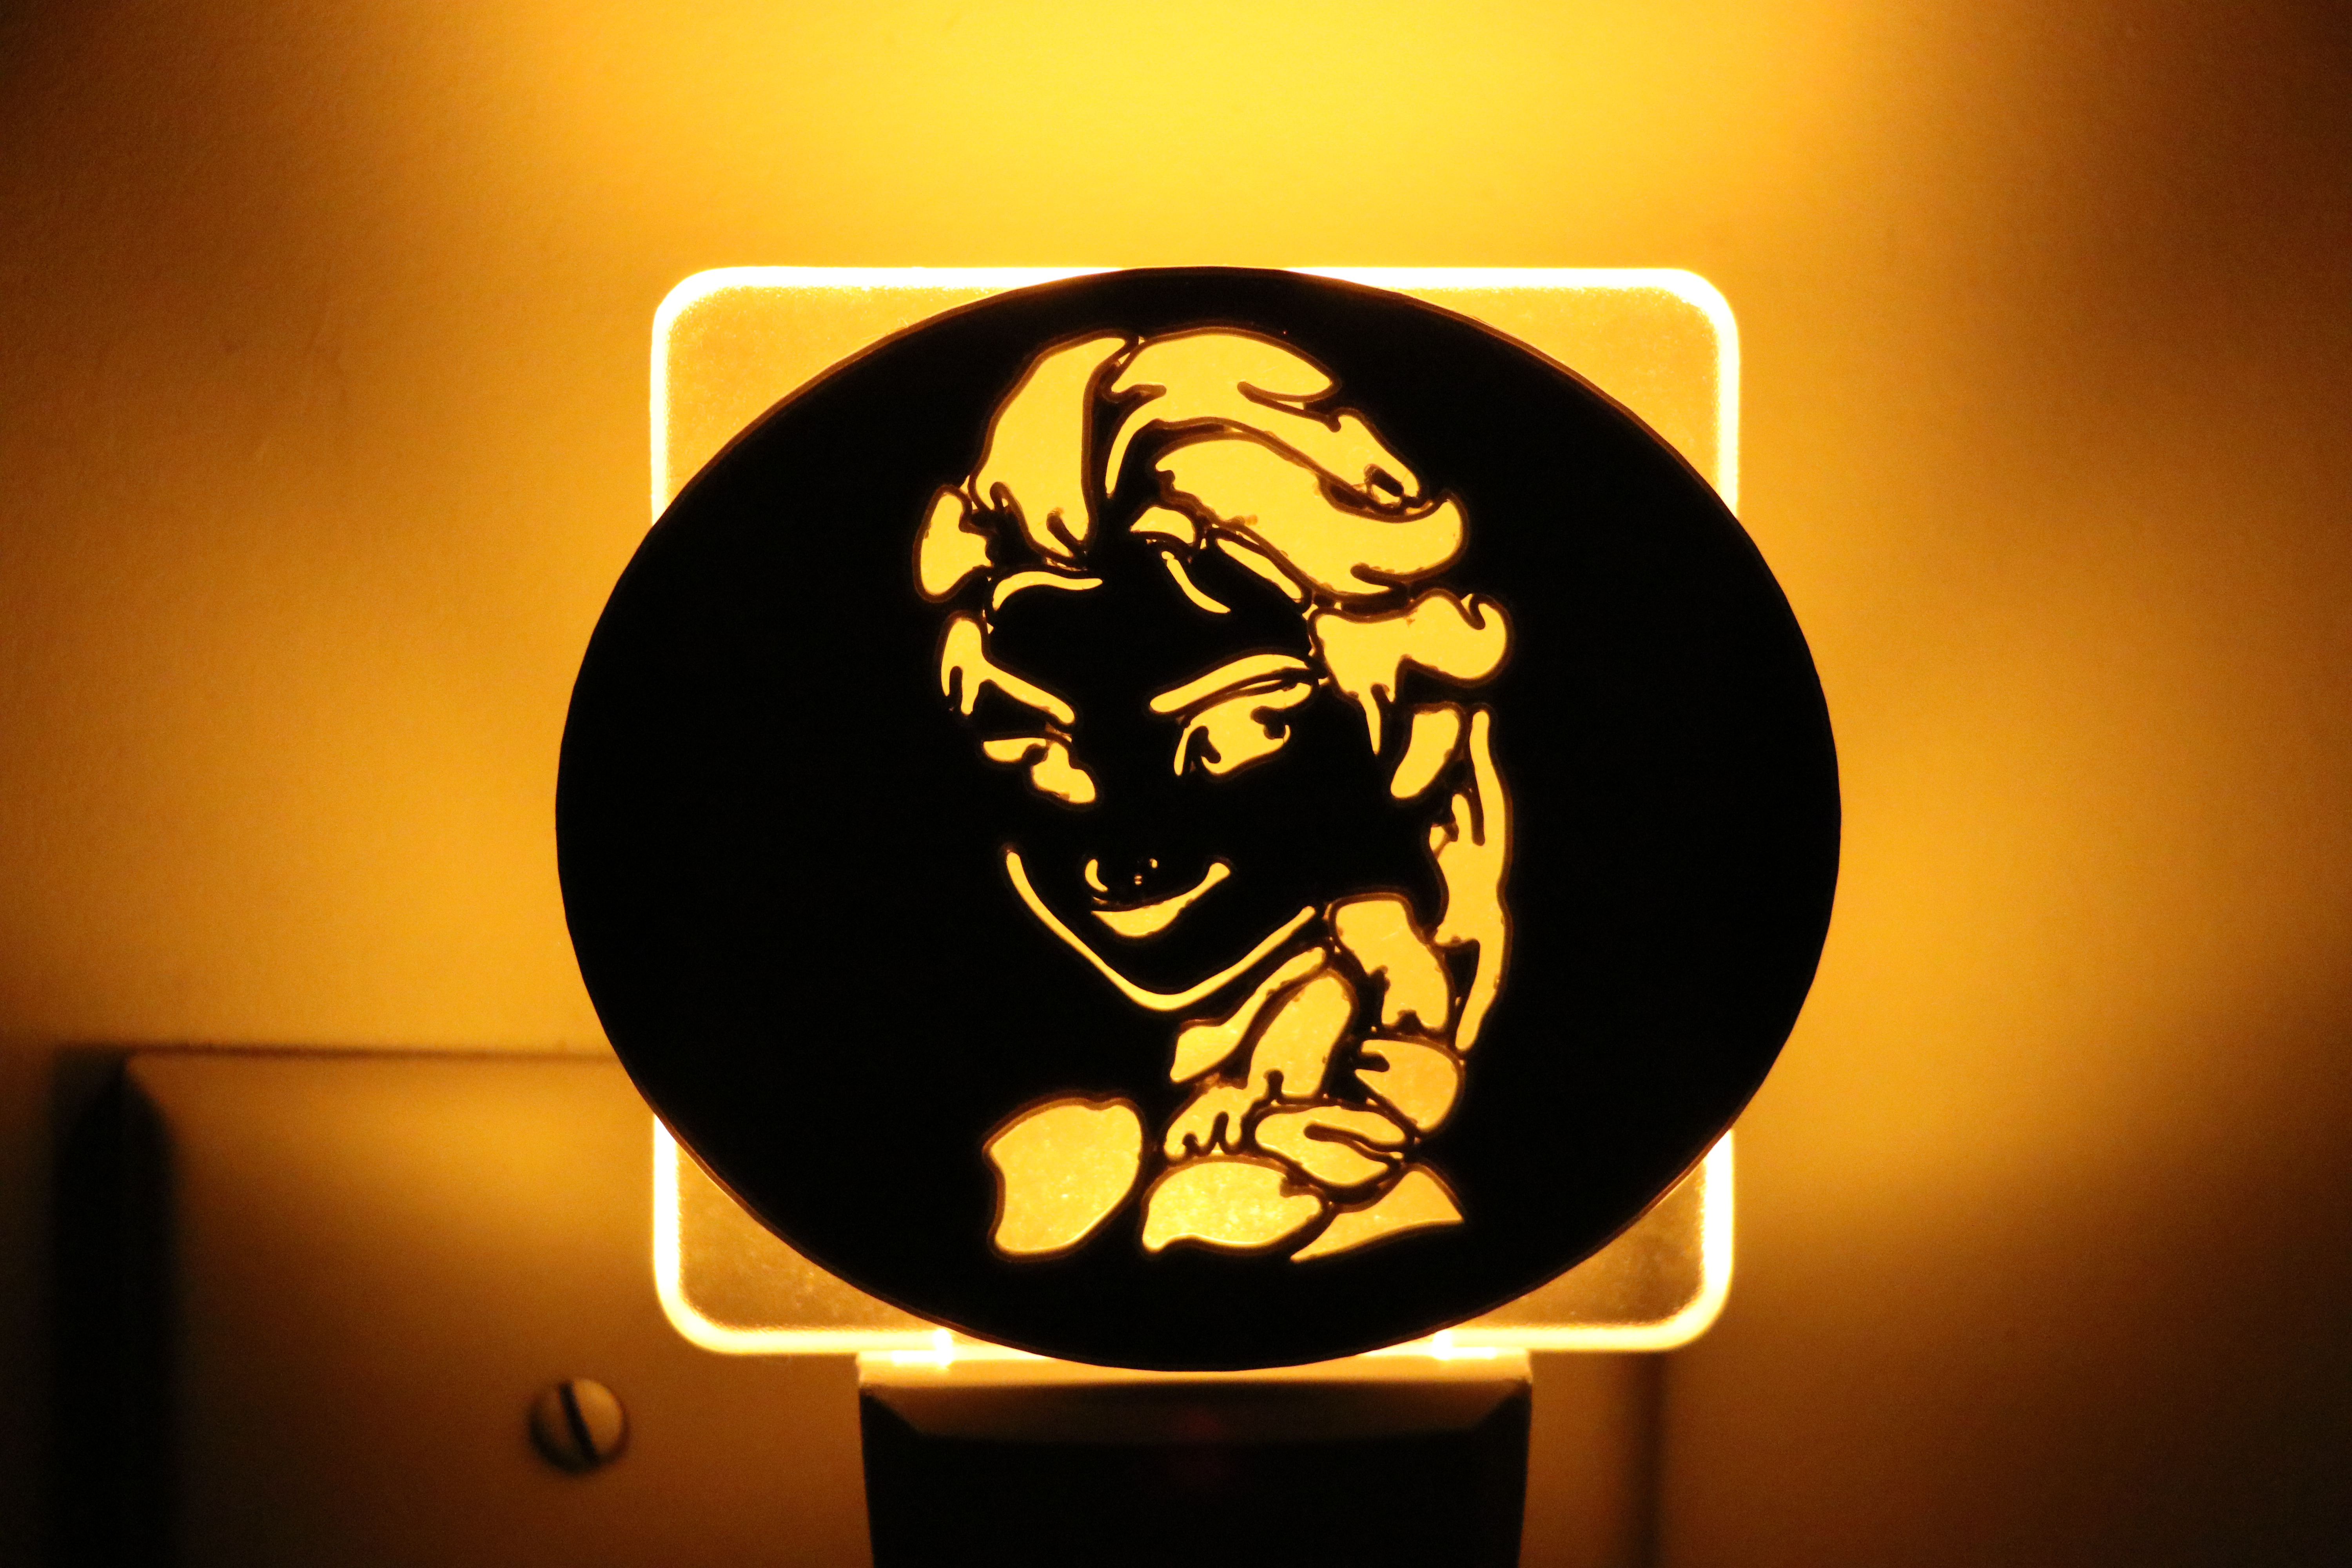
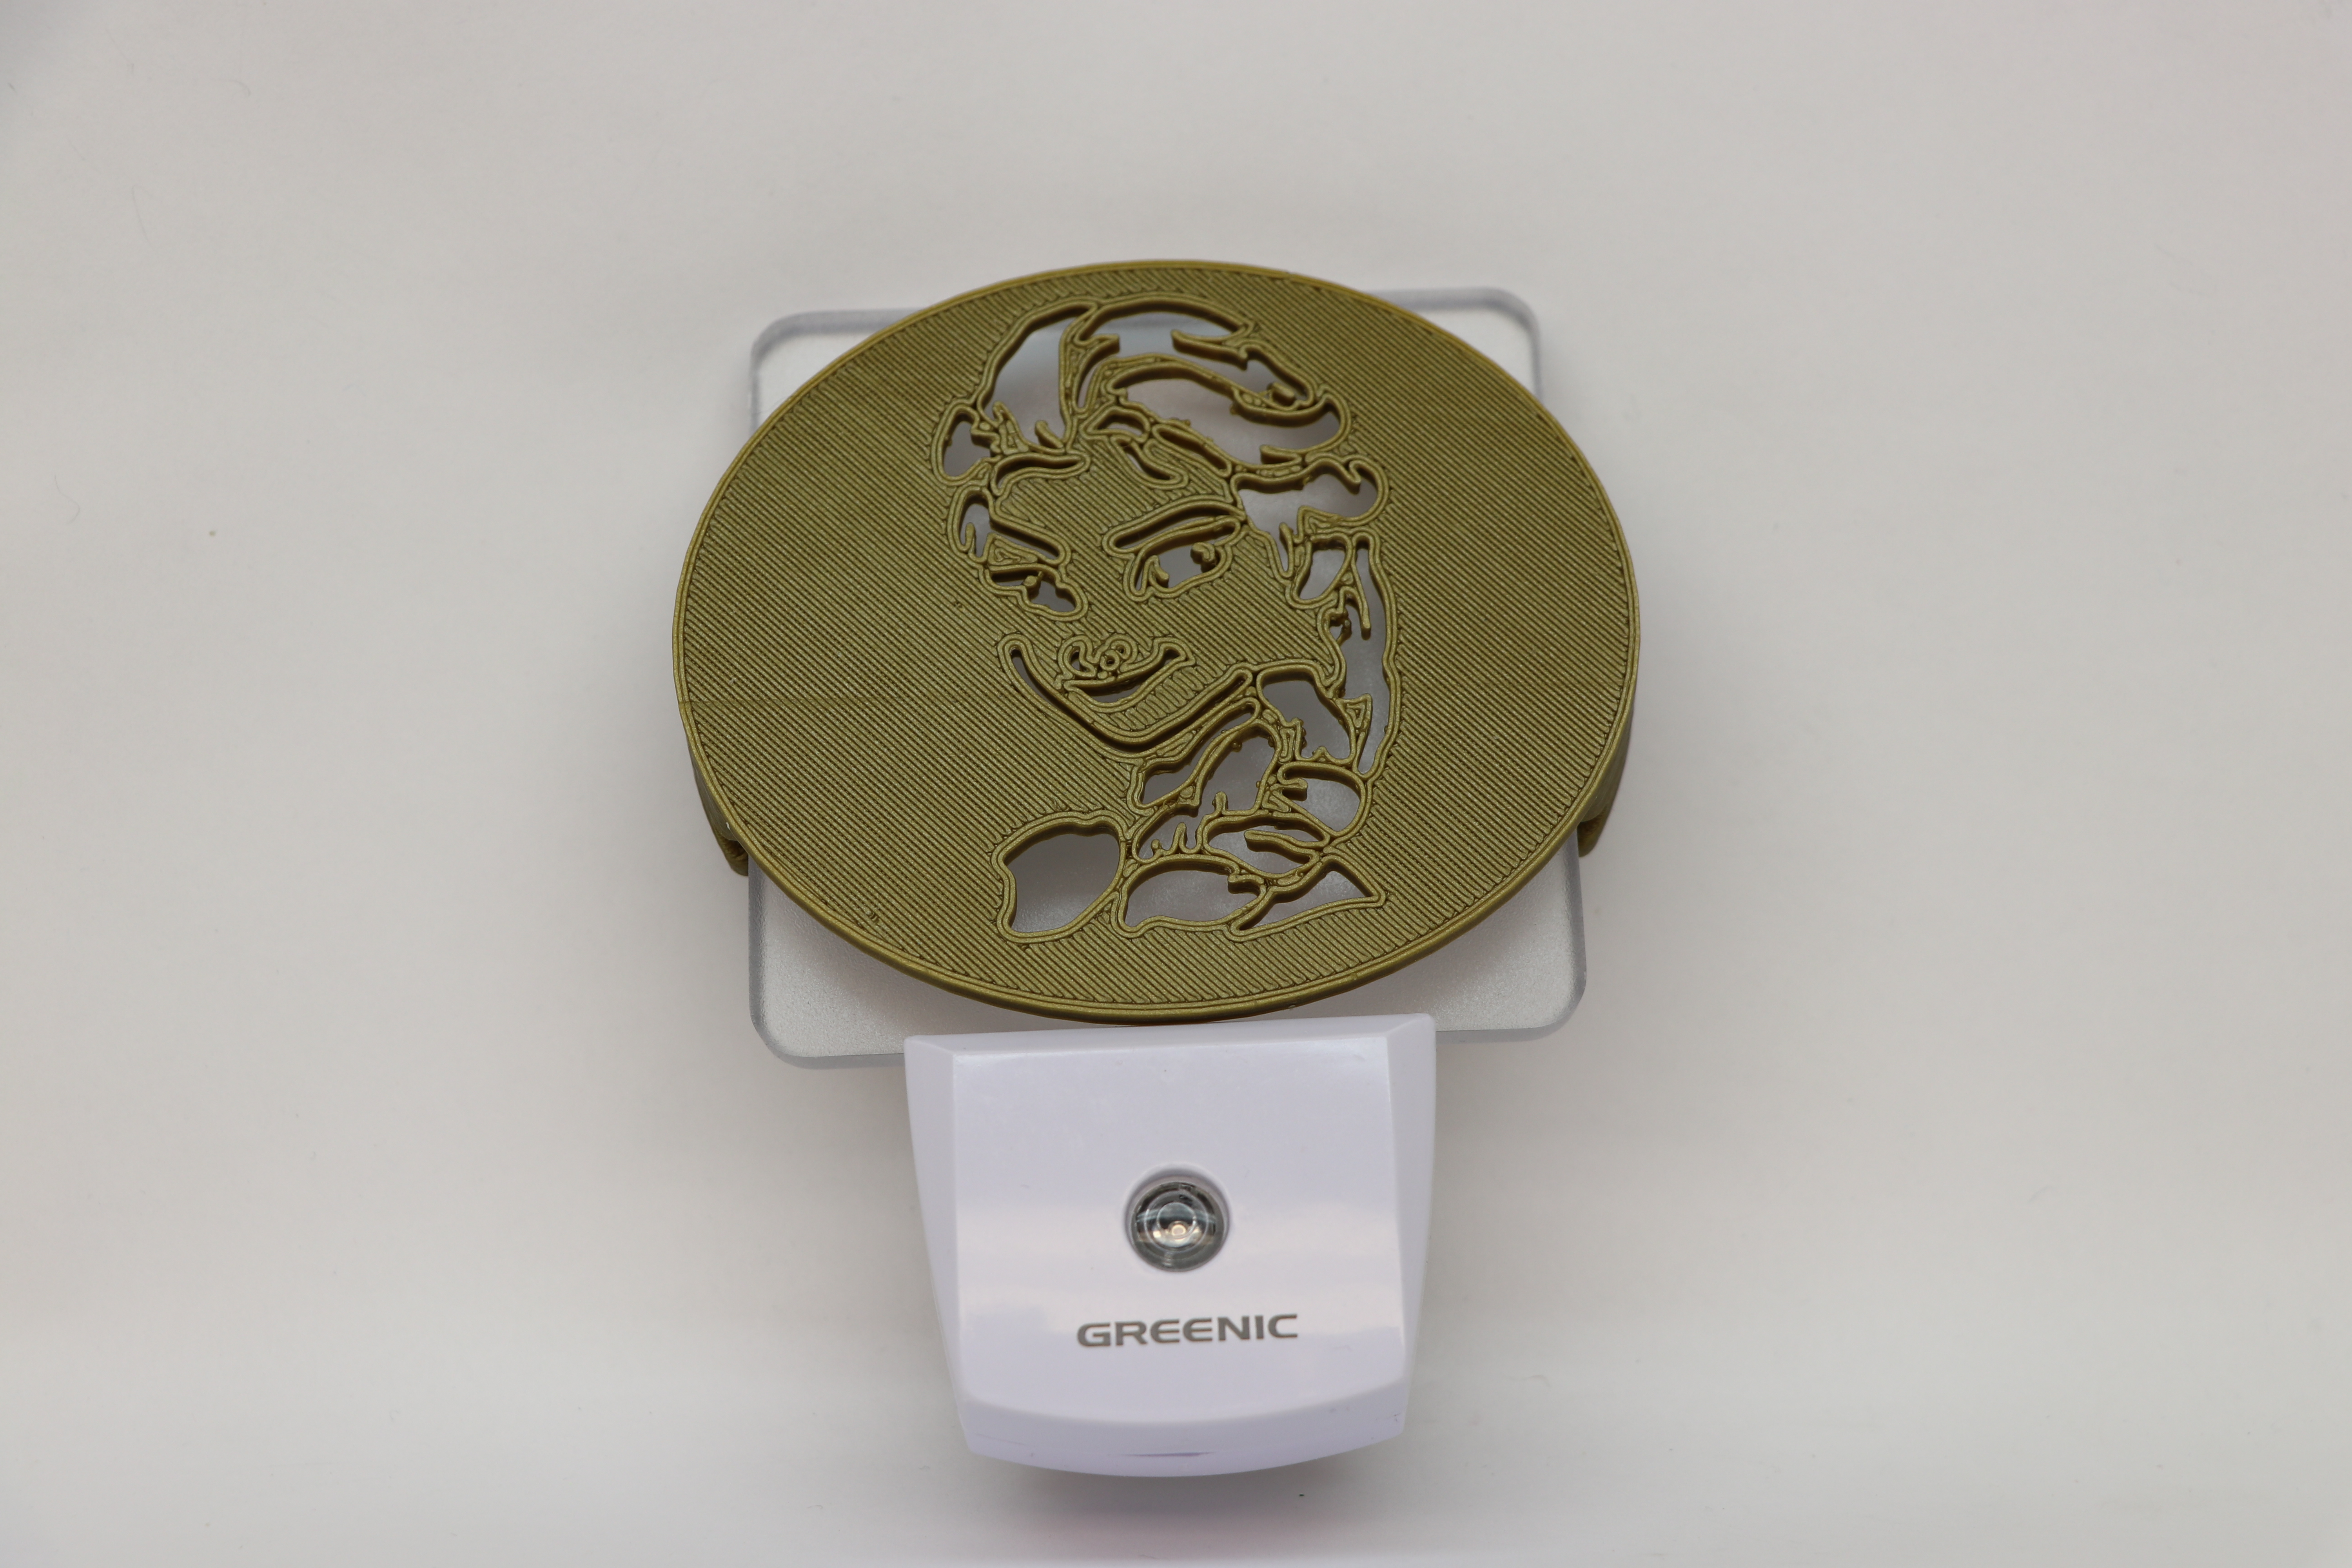
3D print this Frozen Elsa Night Light Design! They make great DIY gifts for kids!
Thanks to Jean for motivating me to produce this design.
Amazon Associates Affiliate Disclosure: Inventor Boy is a participant in the Amazon Services LLC Associates Program, an affiliate advertising program designed to provide a means for sites to earn advertising fees by advertising and linking to amazon.com.
Fun Facts!
600 people worked for two and a half years to animate the characters of Frozen.
What you will need:
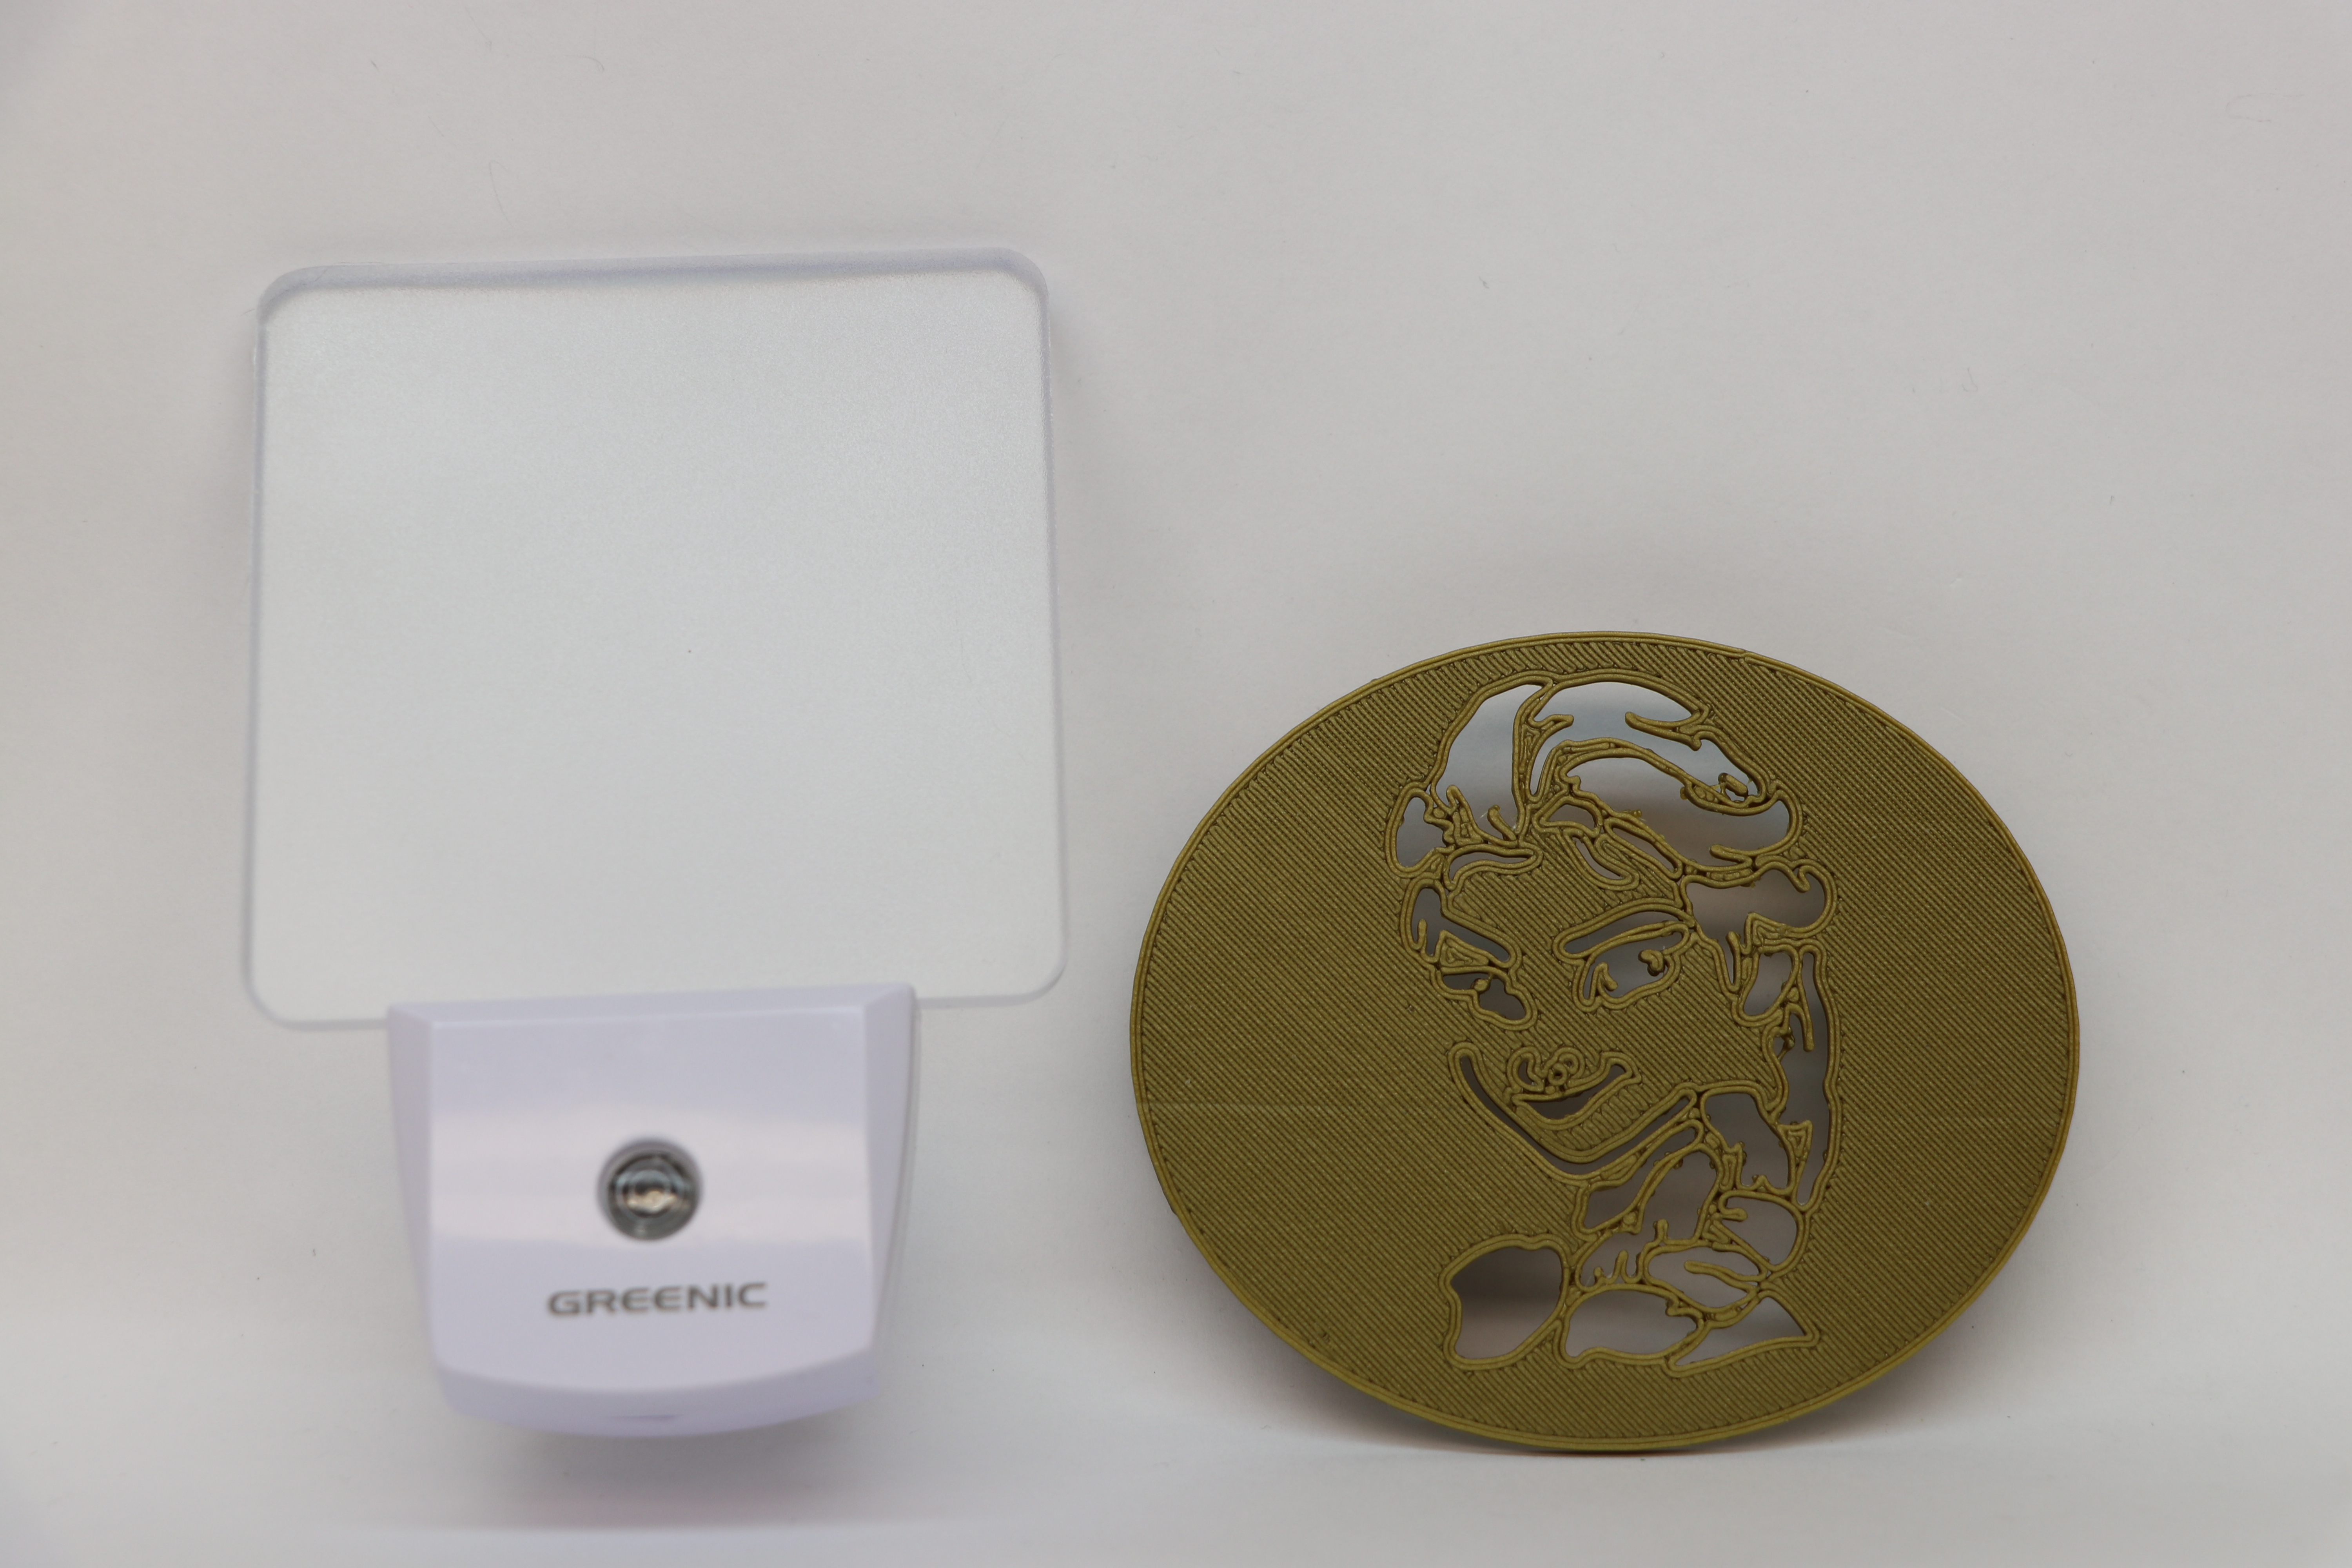
- 3D Printer Filament. I used a gold PLA filament but you are free to choose what you think would look best. I found that post-processing such as sanding was not required with PLA.

2. Assorted Sandpaper (this may not be required with PLA).

3. Night Light (6 Colors to choose from).

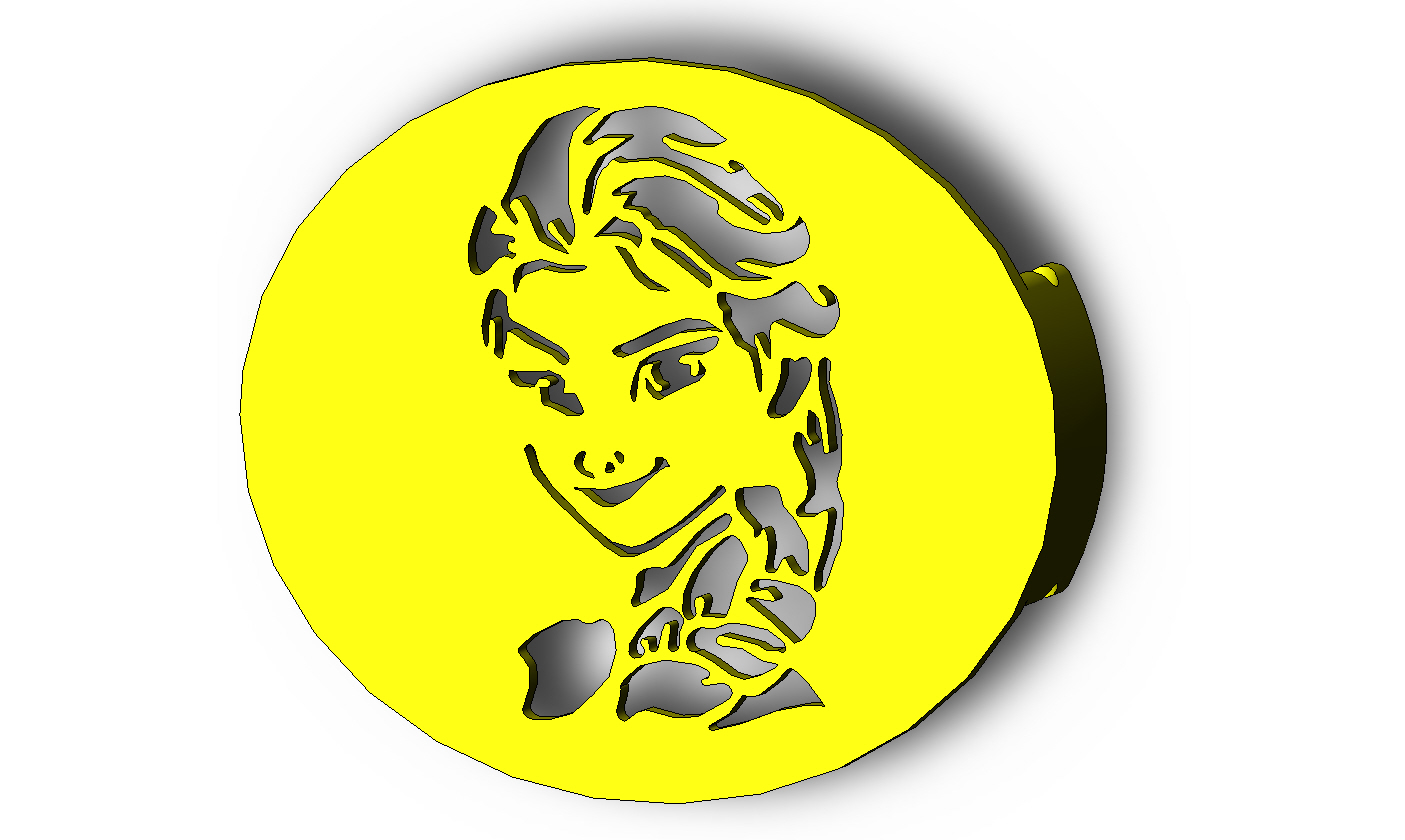
4. The 3D File. Just click on the blue colored “FREE ELSA .STL FILE” link to download the free file.
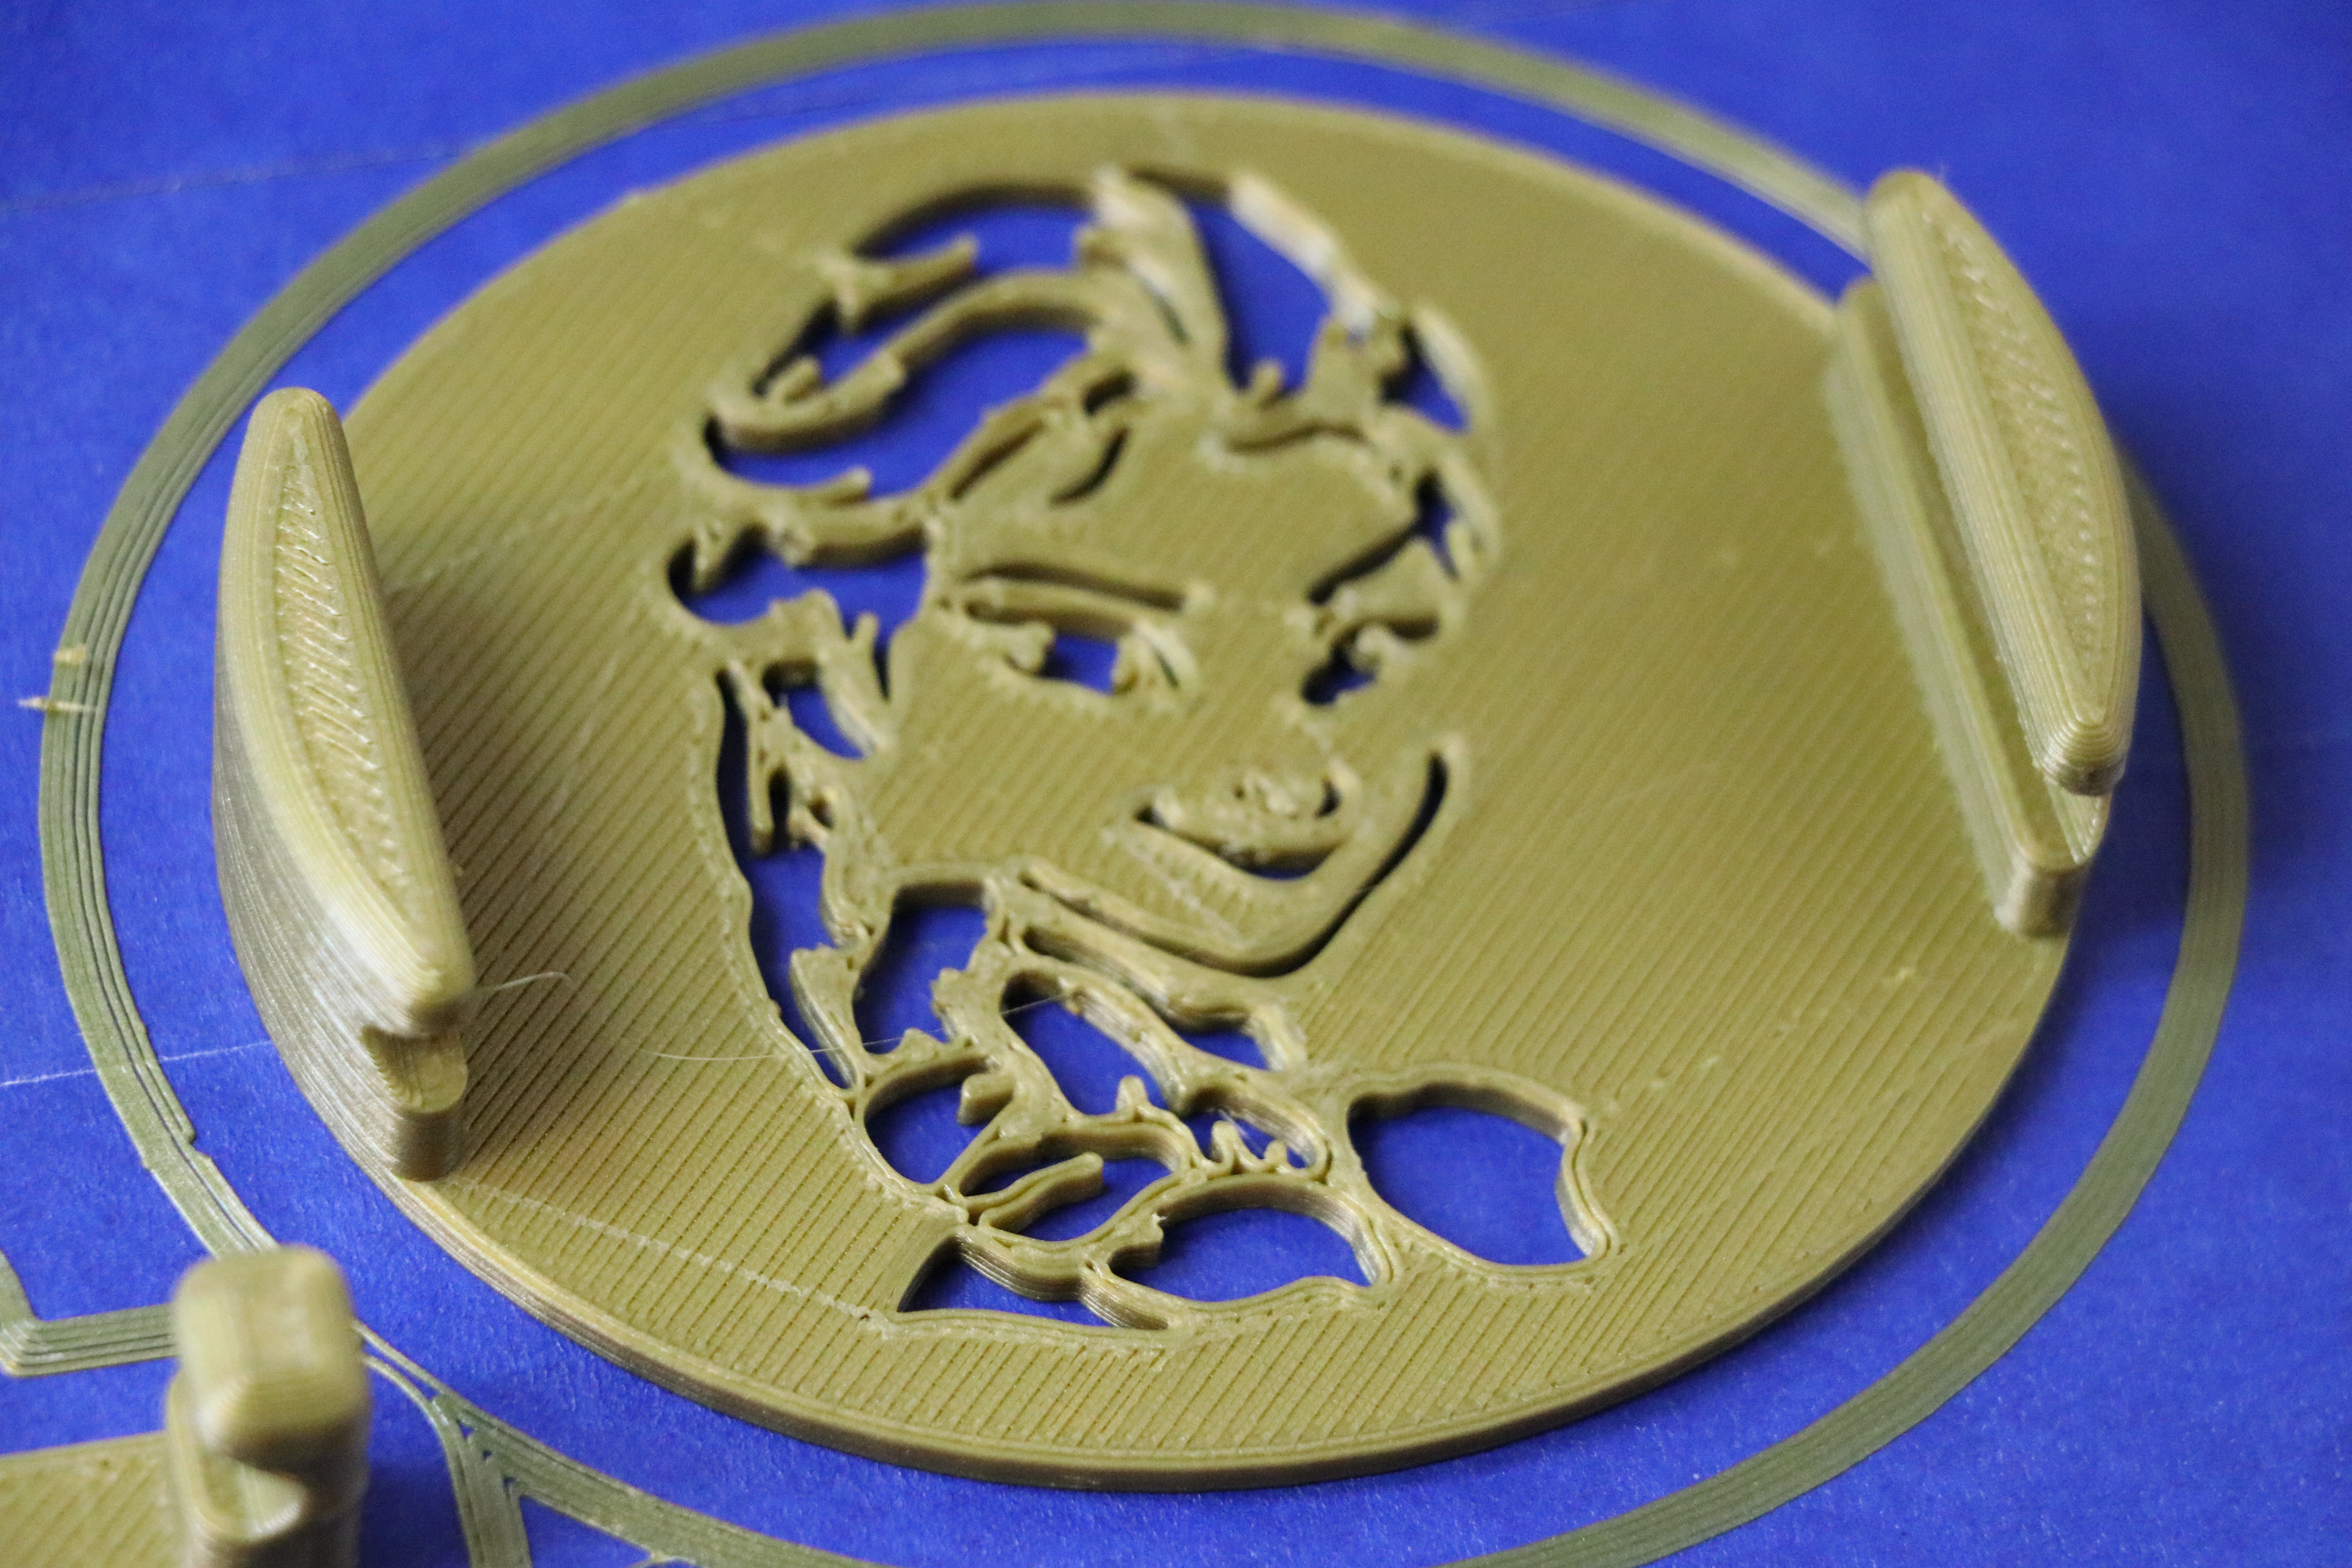
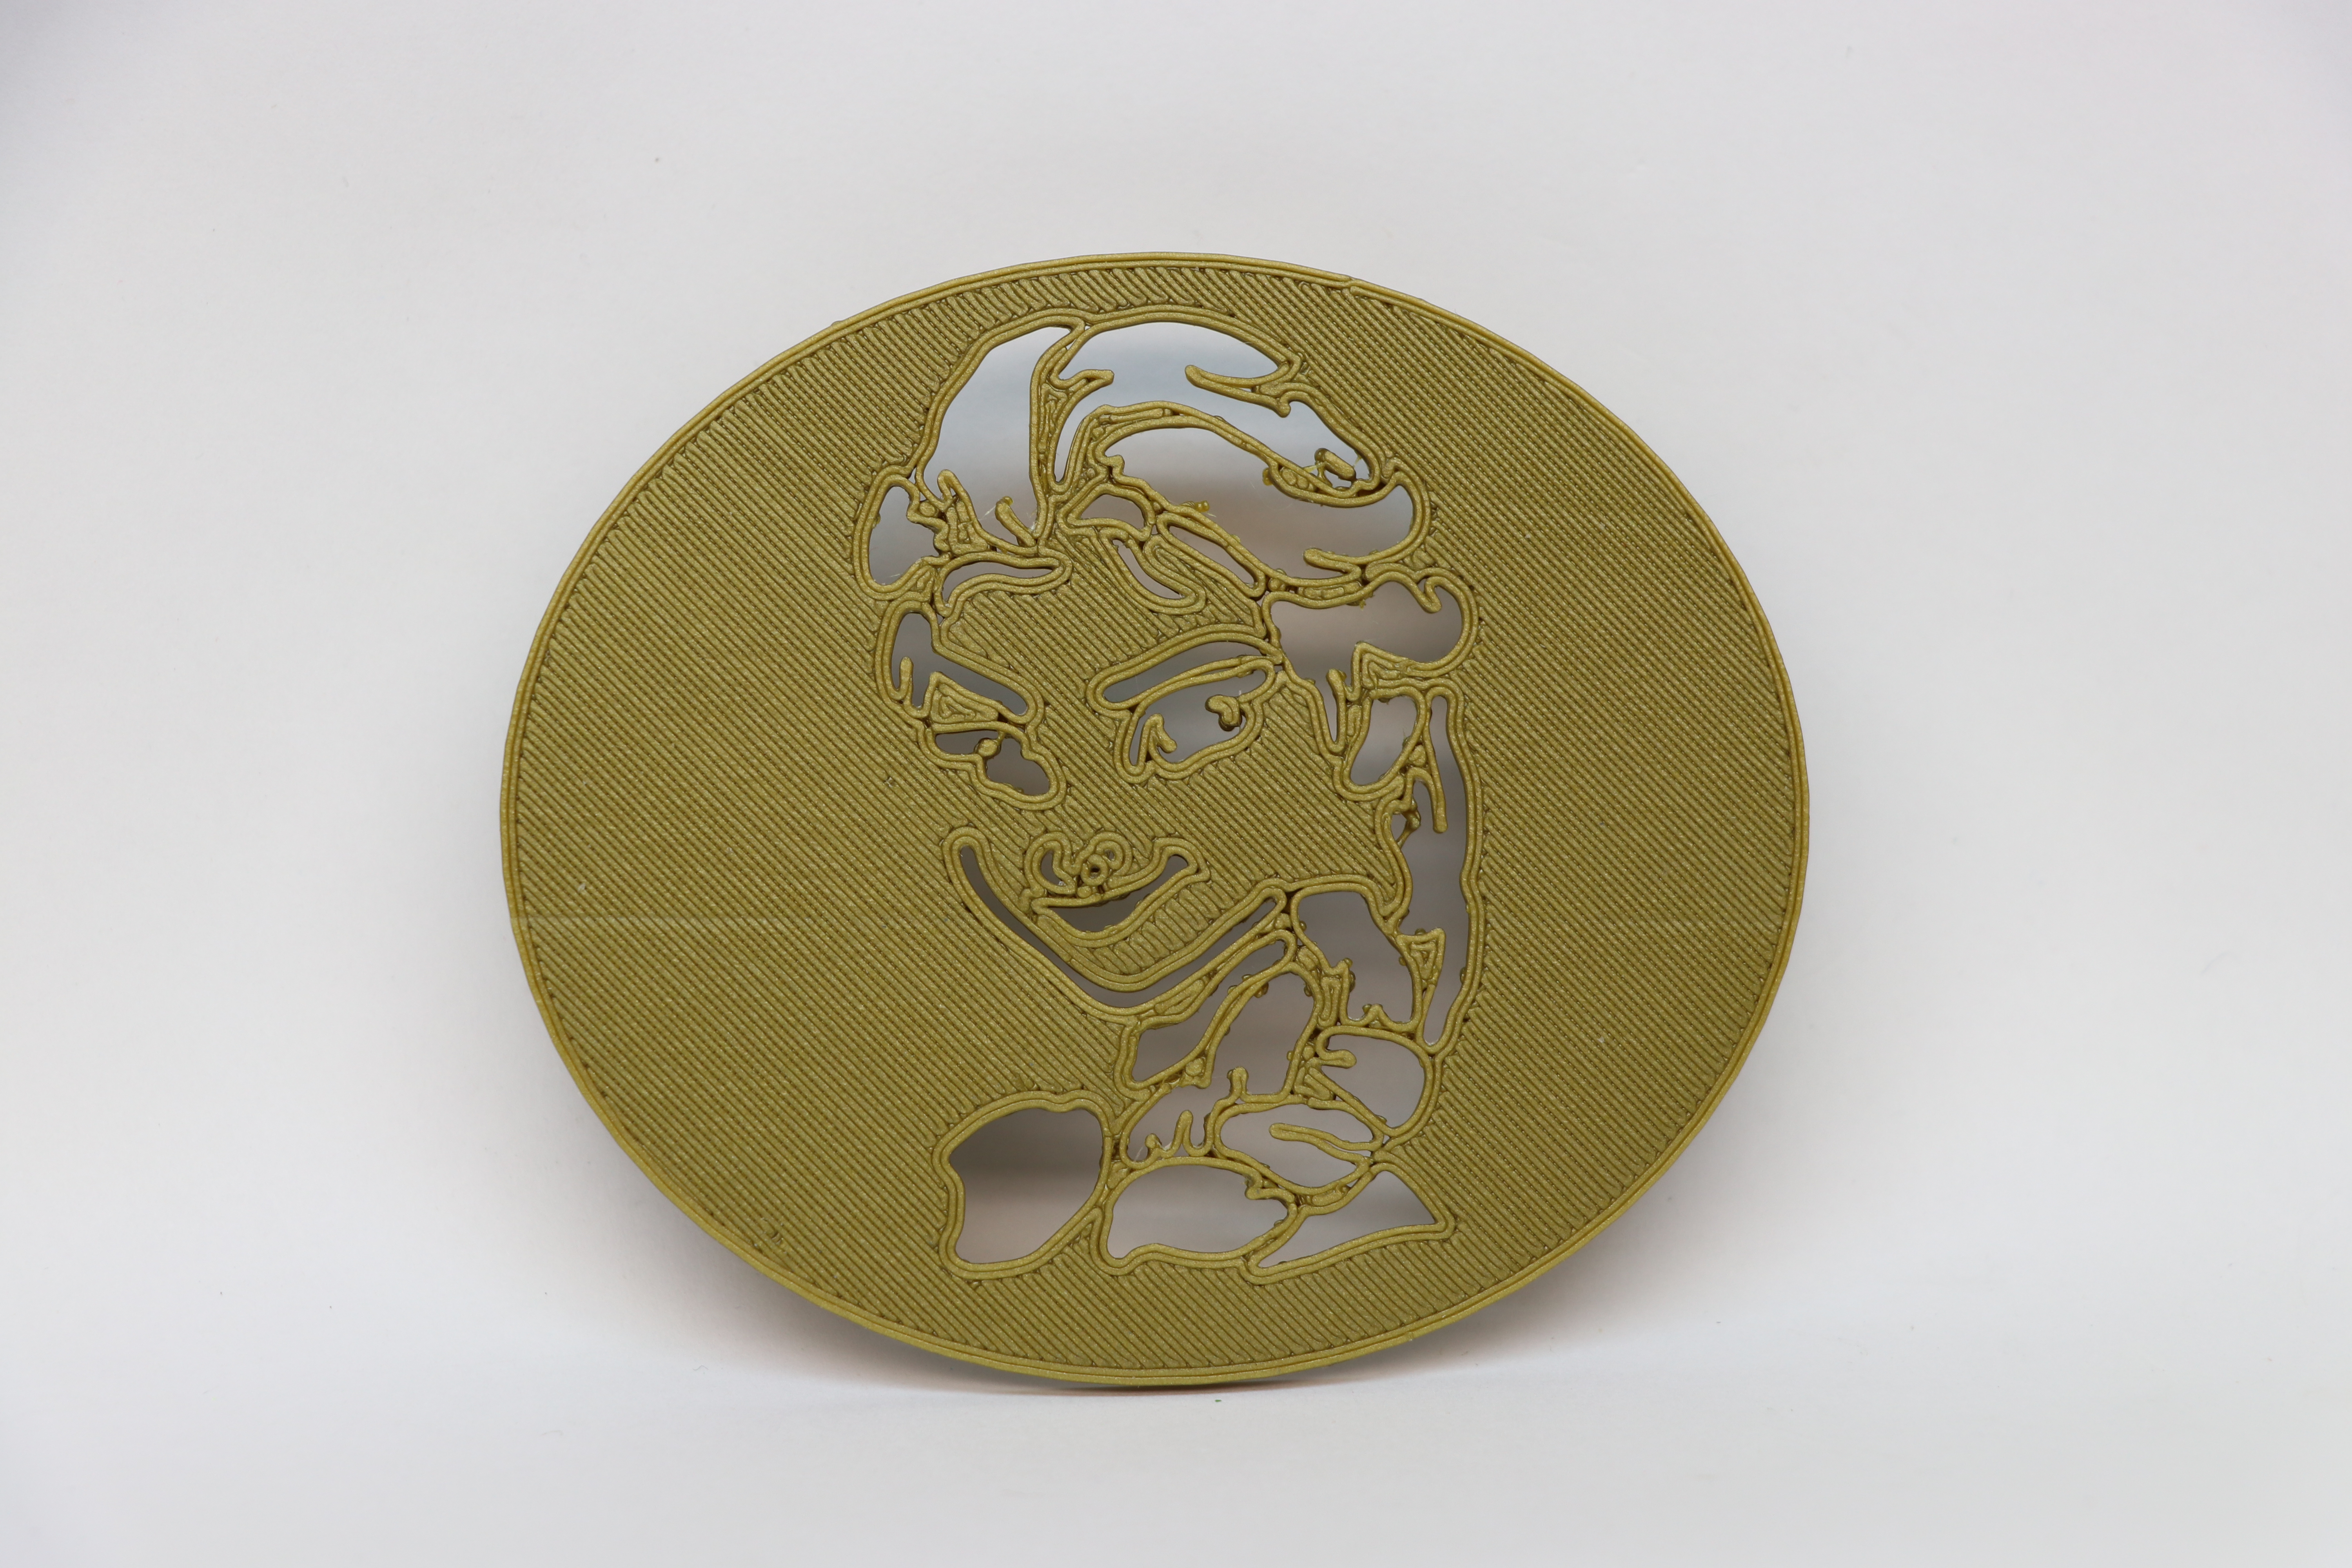
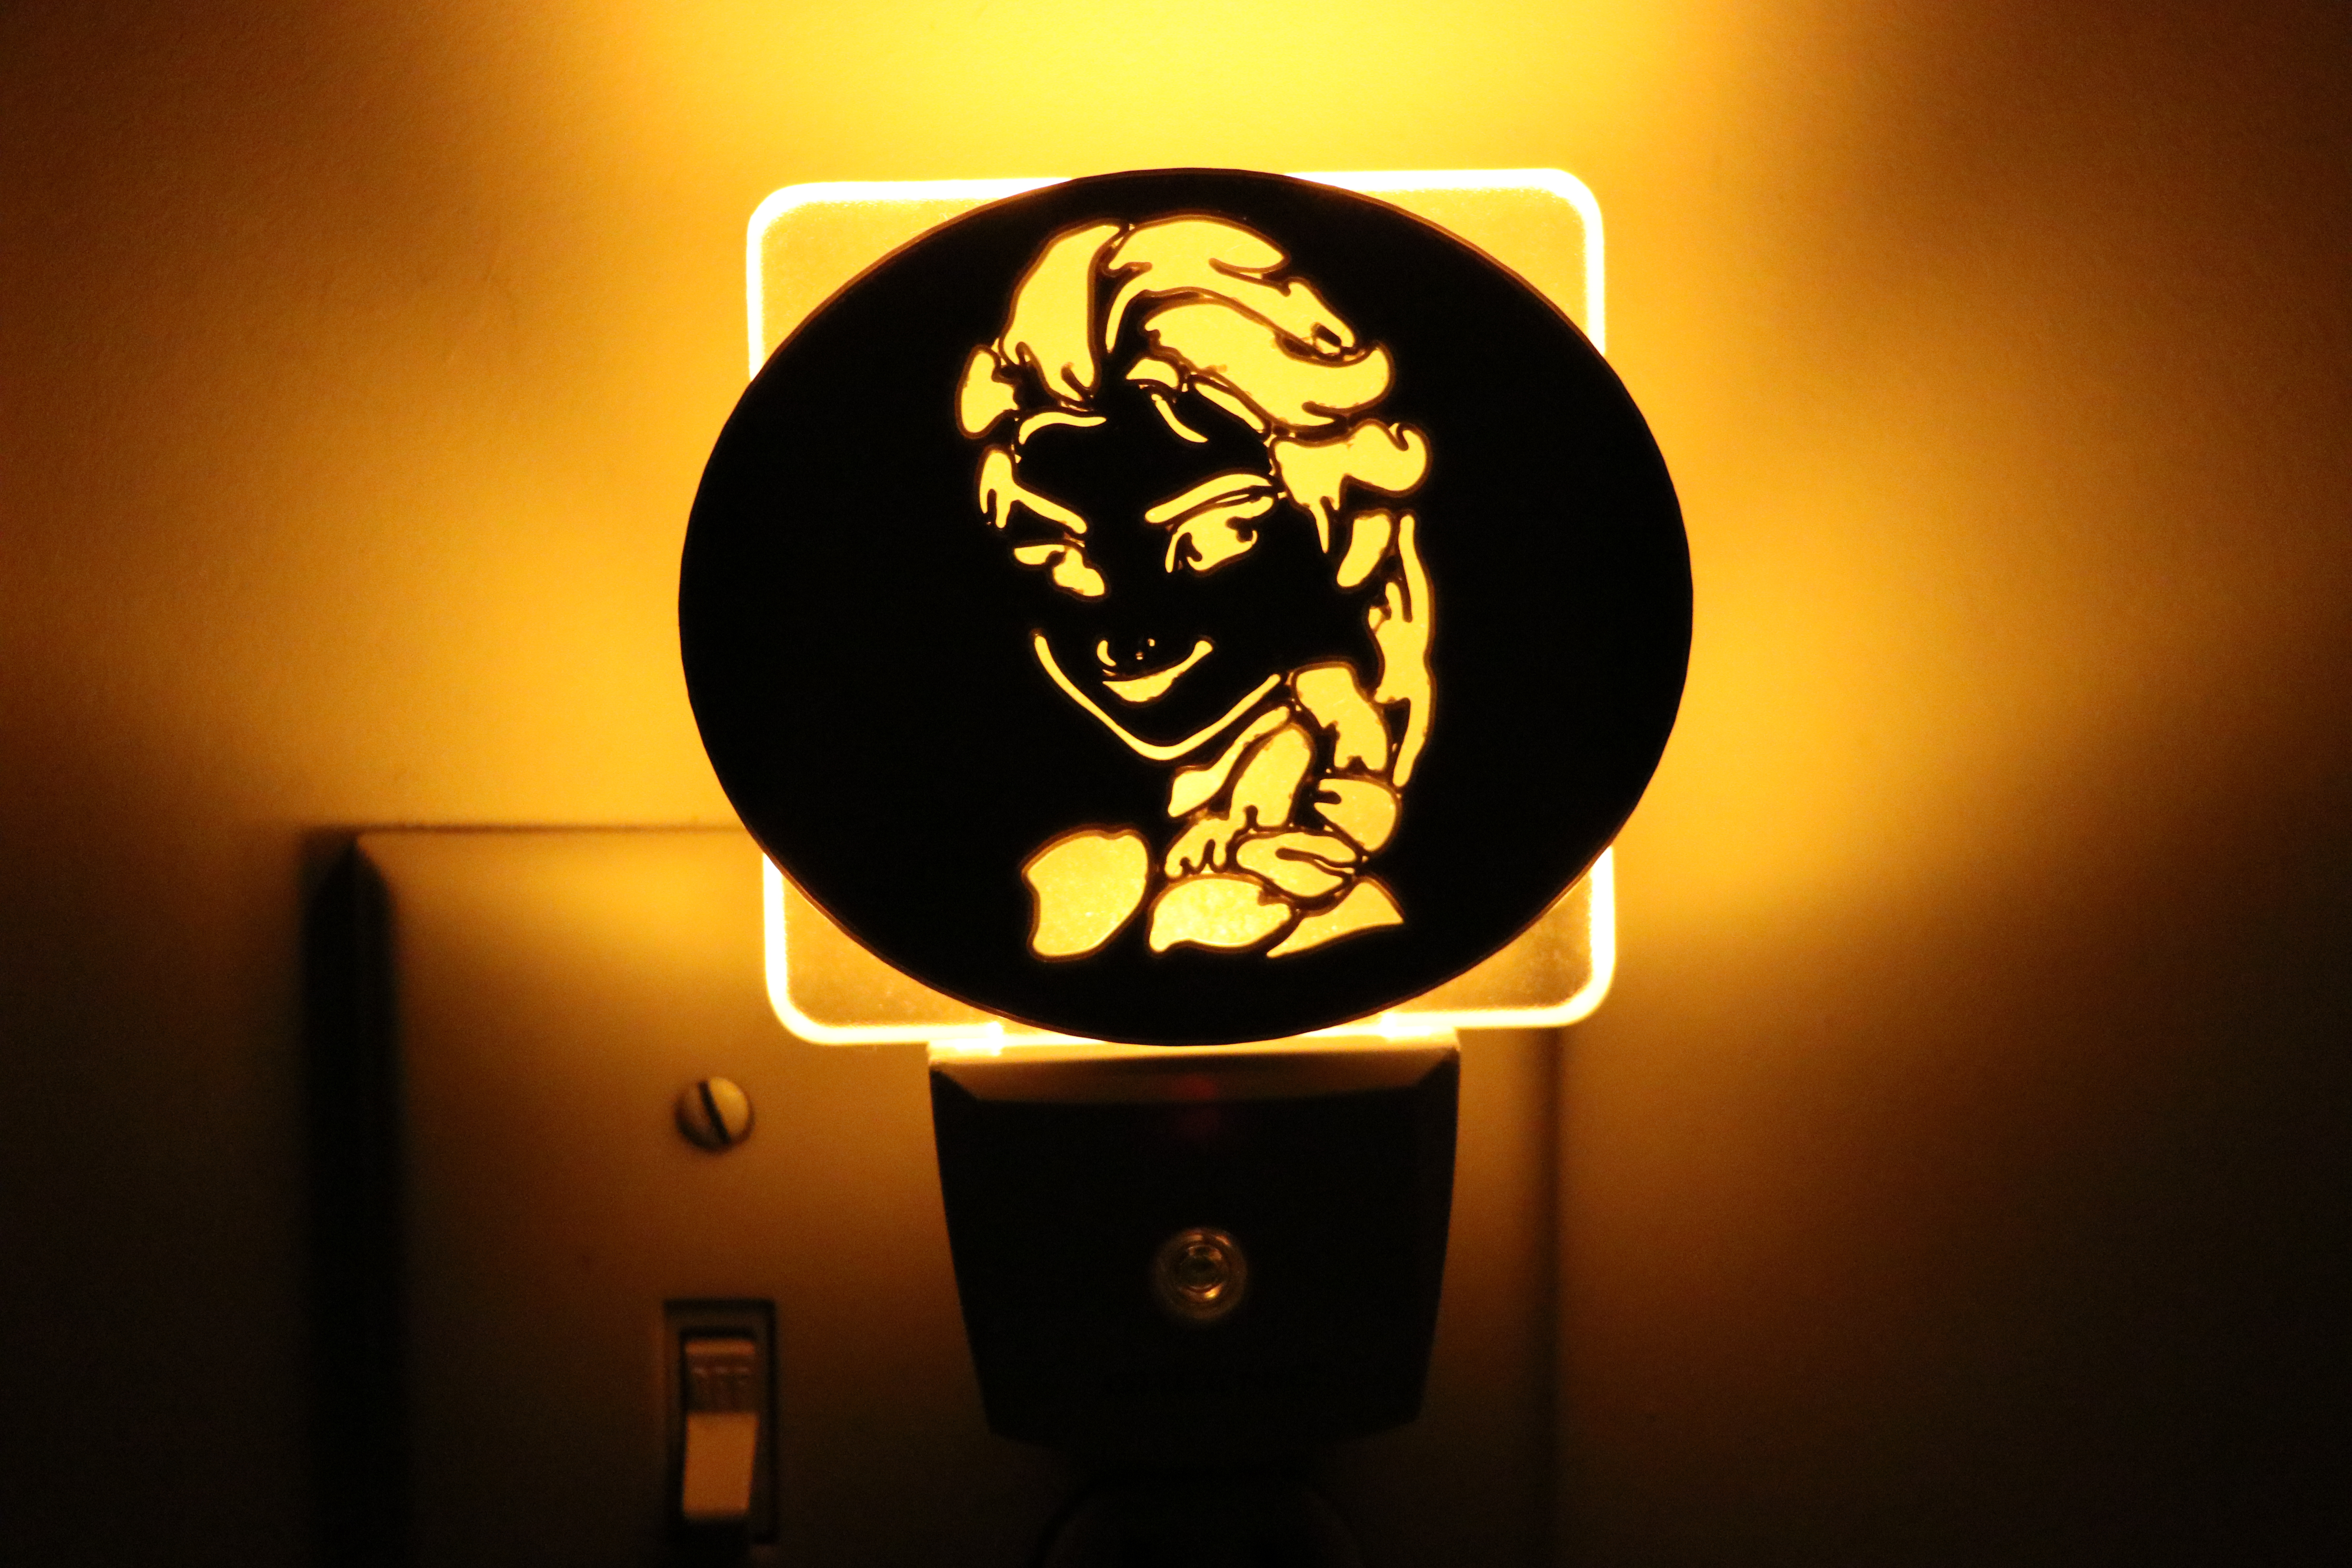
Now just print it, sand it, slide it onto the Night Light and enjoy! On my Airwolf 3D printer, I used an extruder temperature of 220 C, and a resolution of .2 mm. On the print bed I used blue painters tape and did not use bed heat. I printed with Elsa’s face flat on the build plate and I did not use a raft or support material. I used a .50 mm nozzle but next time will use my .35 mm nozzle for better detail.
We hope this project works great for you and you enjoy it! Please let us know if you have any question. We plan to design more of these in the future so keep checking in. Let us know if you have a request for a custom design. We would love to see your pictures if you make this project!
Check out our latest blog posts!
The Elsa file printed perfectly. We printed the design in blue filament. Again, Ryan was great to work with. Thanks Ryan for the quick turn around time! Will definitely contact Ryan again for future designs.